Automated eBay Price Tracker (A Serverless AWS Solution)
Project Motivation
As an avid eBay shopper, I often find myself in a dilemma. There are items I want to purchase, but I prefer to wait for promotions. However, constantly checking for price drops can be time-consuming, making it easy to miss good deals. This led me to develop a cloud-powered solution with the following goals:
- Enable users to sign up for price tracking from anywhere in the country.
- Implement periodic, automated price checks.
- Create a cost-effective application.
- Design for easy destruction and redeployment.
To address these challenges, I designed a cloud-powered solution using AWS services. The code is available here. Here’s how I approached the design:
Design
In this application, we need both a frontend for the signup service and a continuous service for actual price tracking. I divided the application into two main tasks:
- User signup management
- Periodic price checking
Let’s delve into each task and explore the AWS services selected for implementation.
Task 1: User Signup Management
AWS Service Choices
Static Web Hosting: Amazon S3
For the frontend, I considered various AWS options for web applications. While EC2 and ECS offer self-managed services, and Lightsail provides a simplified approach, I ultimately chose Amazon S3 for its simplicity and low administrative overhead. Given that our application requires only light frontend handling, S3’s static website hosting capabilities are perfect for our needs. The frontend user interface design is based on a customized a CodePen template, modified for this project’s needs.
Content Delivery: Amazon CloudFront
Initially, I planned to use only S3 static website hosting. However, this would require enabling public bucket permissions, which isn’t ideal from a security standpoint. By introducing CloudFront, we gain several benefits:
- Dramatically accelerated webpage loading times.
- Ability to serve static files from S3 without enabling public S3 bucket permissions.
- Enhanced security and global content delivery.
API Management: API Gateway
To handle incoming requests efficiently and trigger our Lambda functions, API Gateway was the natural choice. It provides a robust, scalable API interface for our application.
Compute: AWS Lambda
For processing requests and performing validations, I opted for AWS Lambda. Its serverless nature aligns perfectly with our goal of creating a cost-effective, easily scalable solution.
Database: Amazon DynamoDB
When it came to choosing a database, DynamoDB stood out for several reasons:
- Excellent scalability to handle varying loads.
- High performance for quick data retrieval and updates.
- Low administrative overhead, fitting our easy management requirement.
Notifications: Amazon SNS
For managing subscriptions and notifications, I chose Amazon SNS. While it’s not ideal for business cases due to limited customization and email bounce handling, it’s cost-effective and suitable for our project’s scope.
Let’s look into how all the components work together:
Workflow

Step 1: A user sends a request to https://app1.maxinehe.top, which is routed to CloudFront.
Step 2 and 3: CloudFront either serves cached content or retrieves static content from the S3 bucket.
Step 4: The user interacts with the website, triggering JavaScript code running in the user’s browser to perform initial validations on the input.
Step 5: When the user clicks the Submit button, the frontend sends the validated data as a request to the API Gateway.
Step 6: Upon receiving the request, the API Gateway acts as an intermediary, triggering our Lambda function in the backend.
Step 7: The Lambda function, which contains the core backend logic, performs several tasks:
- URL Validation: It first checks if the submitted URL corresponds to a valid, existing item on eBay.
- DynamoDB Check: The function then queries our DynamoDB to see if the URL already exists in our database.
- If the URL is found:
- It checks whether the submitted URL corresponds to a valid, existing item on eBay.
- If the URL is not found in DynamoDB:
- Creates a new entry in DynamoDB with the following details:
- The item’s URL
- The item’s title
- A list of subscribers (initially containing just the new subscriber)
- The current price (recorded as both the max_price and lowest_price)
- The current date (recorded for both max_price_date and lowest_price_date)
- The ARN (Amazon Resource Name) for the associated SNS topic
- Creates a new SNS topic and adds the email address to its subscribers list.
- Creates a new entry in DynamoDB with the following details:
- If the URL is found:
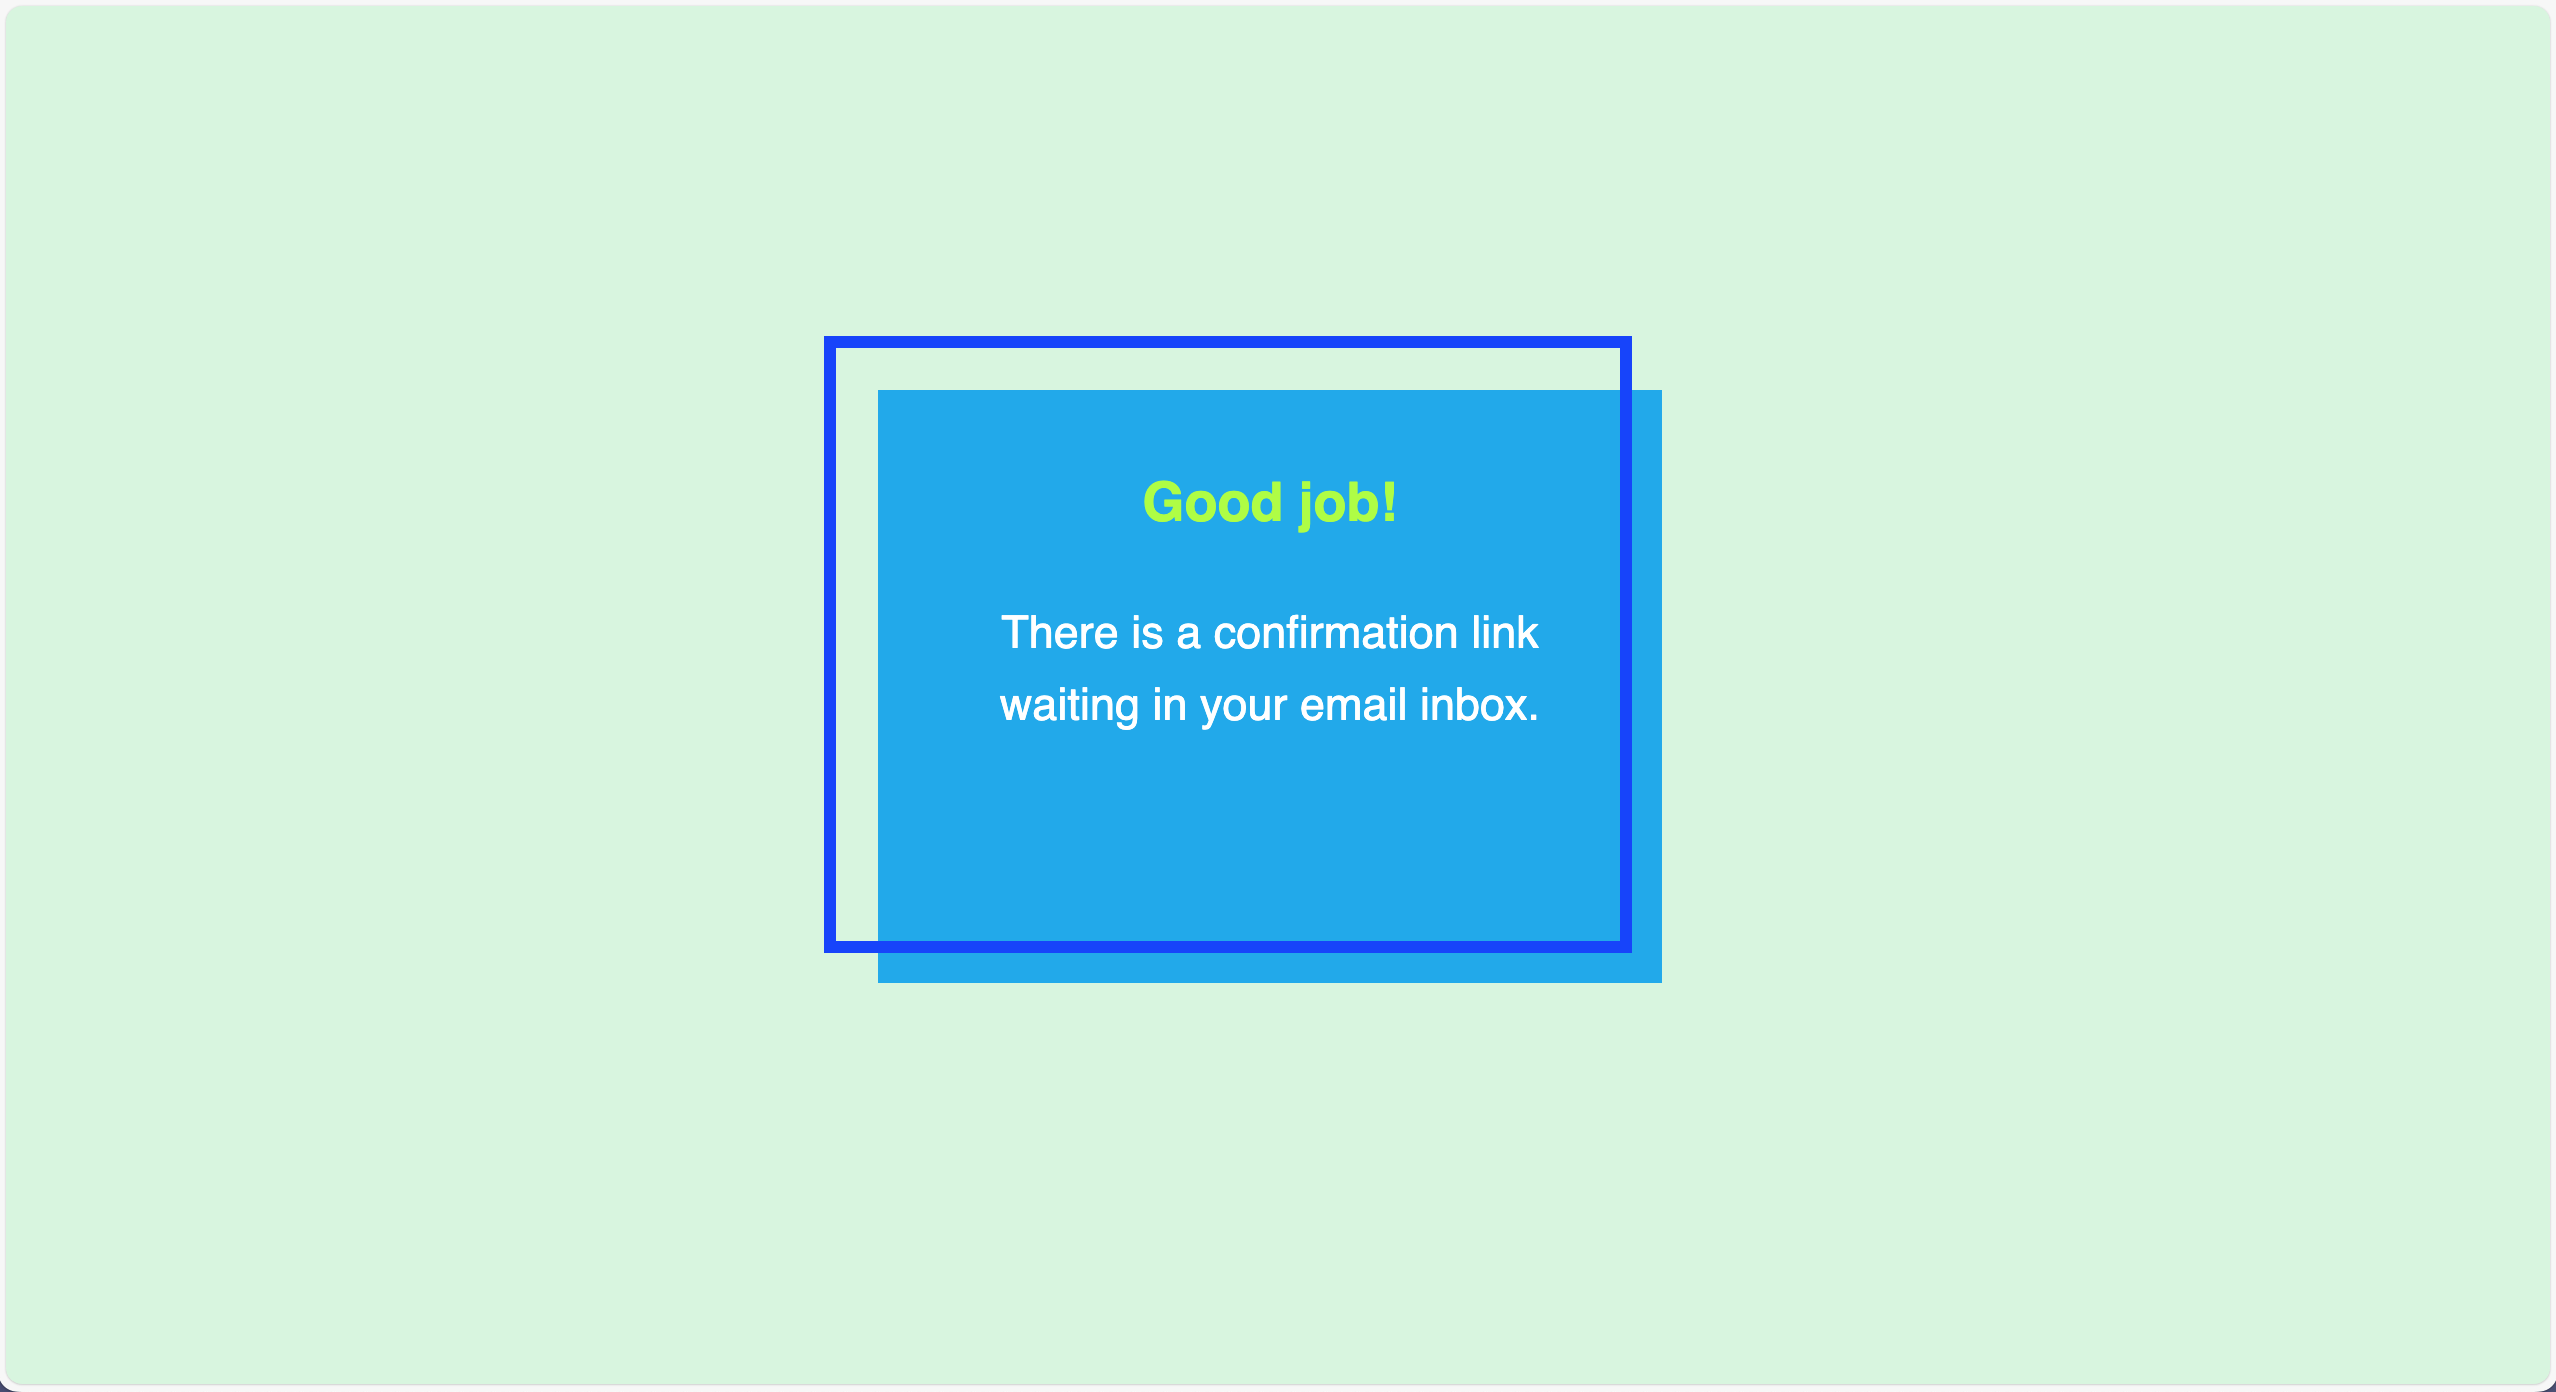
Step 8: The SNS service sends a subscription confirmation email to the user provided address.
Step 9: API gateway then passes the results to the client.
Step 10: Lambda function sends response to the API gateway.
Task 2: Periodic Price Checking
AWS Service Choices
Scheduling: Amazon EventBridge
To trigger our price checking function periodically, I chose Amazon EventBridge for its reliability and ease of use in scheduling tasks.
Compute: AWS Lambda
Again, Lambda proves ideal for this periodic, short-running task of price checking.
Now that we’ve selected our services, let’s dive into how they work together to perform periodic price checks.
Workflow

Step 1: Amazon EventBridge sets up a periodic schedule for our price checking process.
Step 2: Lambda reads all entries from DynamoDB.
Step 3: Lambda checks the current price for each item using the URL stored in the database.
Step 4: If there’s a price drop, Lambda triggers the corresponding SNS topic to notify subscribers.
Infrastructure as Code: Terraform
To ensure easy application and reusability, I’ve used Terraform to create the entire stack. This approach allows for simple replication and modification of the infrastructure. All code is available here.
With Terraform as our infrastructure management tool, let’s explore the detailed implementation of each component in our architecture.
Implementations
Task 1: User Signup Management
DynamoDB
Create a basic DynamoDB by using aws’s official module dynamodb-table.
1 | module "dynamodb" { |
Lambda Function
The Lambda function is the core component of our project. Initially, I considered using AWS CodePipeline with CodeBuild and CodeDeploy for CI/CD. However, CodeBuild’s limited support for Lambda function testing, particularly its inability to access services requiring IAM permissions during the build process, led me to choose a different approach.
I chose Terraform to create the Lambda function and manage continuous deployment. This method provided more flexibility and control. For testing, I employed a two-step process:
- Utilized the test functions in the AWS Lambda console for initial functionality checks.
- Developed and ran comprehensive unit tests using pytest in a local environment.
This approach allowed for thorough testing both within AWS and locally, ensuring robust functionality of our Lambda function.
Here is the Terraform code for Lambda:
1 | module "lambda" { |
We also add a lambda layer to manage the dependencies:
1 | module "lambda_layer" { |
After extensive testing and refinement, we ran our comprehensive test tests/test_handler.py. This process confirmed the robust functionality of our Lambda function, ensuring its readiness for deployment.

API gateway
To set up the API Gateway, we need to add code that includes a role with the necessary permissions to access our Lambda function. Additionally, we’ll create an aws_lambda_permission resource to explicitly grant the API Gateway access to our newly created Lambda function. It’s important to note that we must include CORS (Cross-Origin Resource Sharing) configuration to enable cross-site access. Here’s how we implement this:
1 | module "api_gateway" { |
S3
The following code accomplishes three key tasks for our static website hosting:
- Creates an S3 bucket to store our static website files
- Uploads these files to the newly created bucket
- Dynamically generates JavaScript code with the correct API endpoint
To handle the variable nature of our API endpoint, we employ a two-step process:
- We create a JavaScript template file
- We use Terraform’s templatefile function to inject the correct API endpoint into this template
This approach ensures that our frontend JavaScript always references the correct backend API, even if the endpoint changes across different environments or deployments. Here’s the code that implements this functionality:
1 | module "s3_bucket" { |
Cloudfront
Next, we’ll configure CloudFront for our application. Since we’re using a custom domain managed by Cloudflare, we need to set up an ACM (AWS Certificate Manager) certificate for our CloudFront distribution. Here’s what we’ll do:
- Create an ACM certificate:
We’ll set avalidation_timeoutof 30 minutes. This gives you a window to complete the DNS verification after applying the Terraform code. - Configure CloudFront:
We’ll set up the CloudFront distribution to use our S3 bucket as the origin and apply the ACM certificate. - Set up CORS handling:
We’ll create anaws_cloudfront_response_headers_policyresource to ensure proper CORS handling.
Here’s the process:
- Apply the Terraform code.
- Within 30 minutes, go to the AWS Certificate Manager console.
- Copy the CNAME record provided for verification.
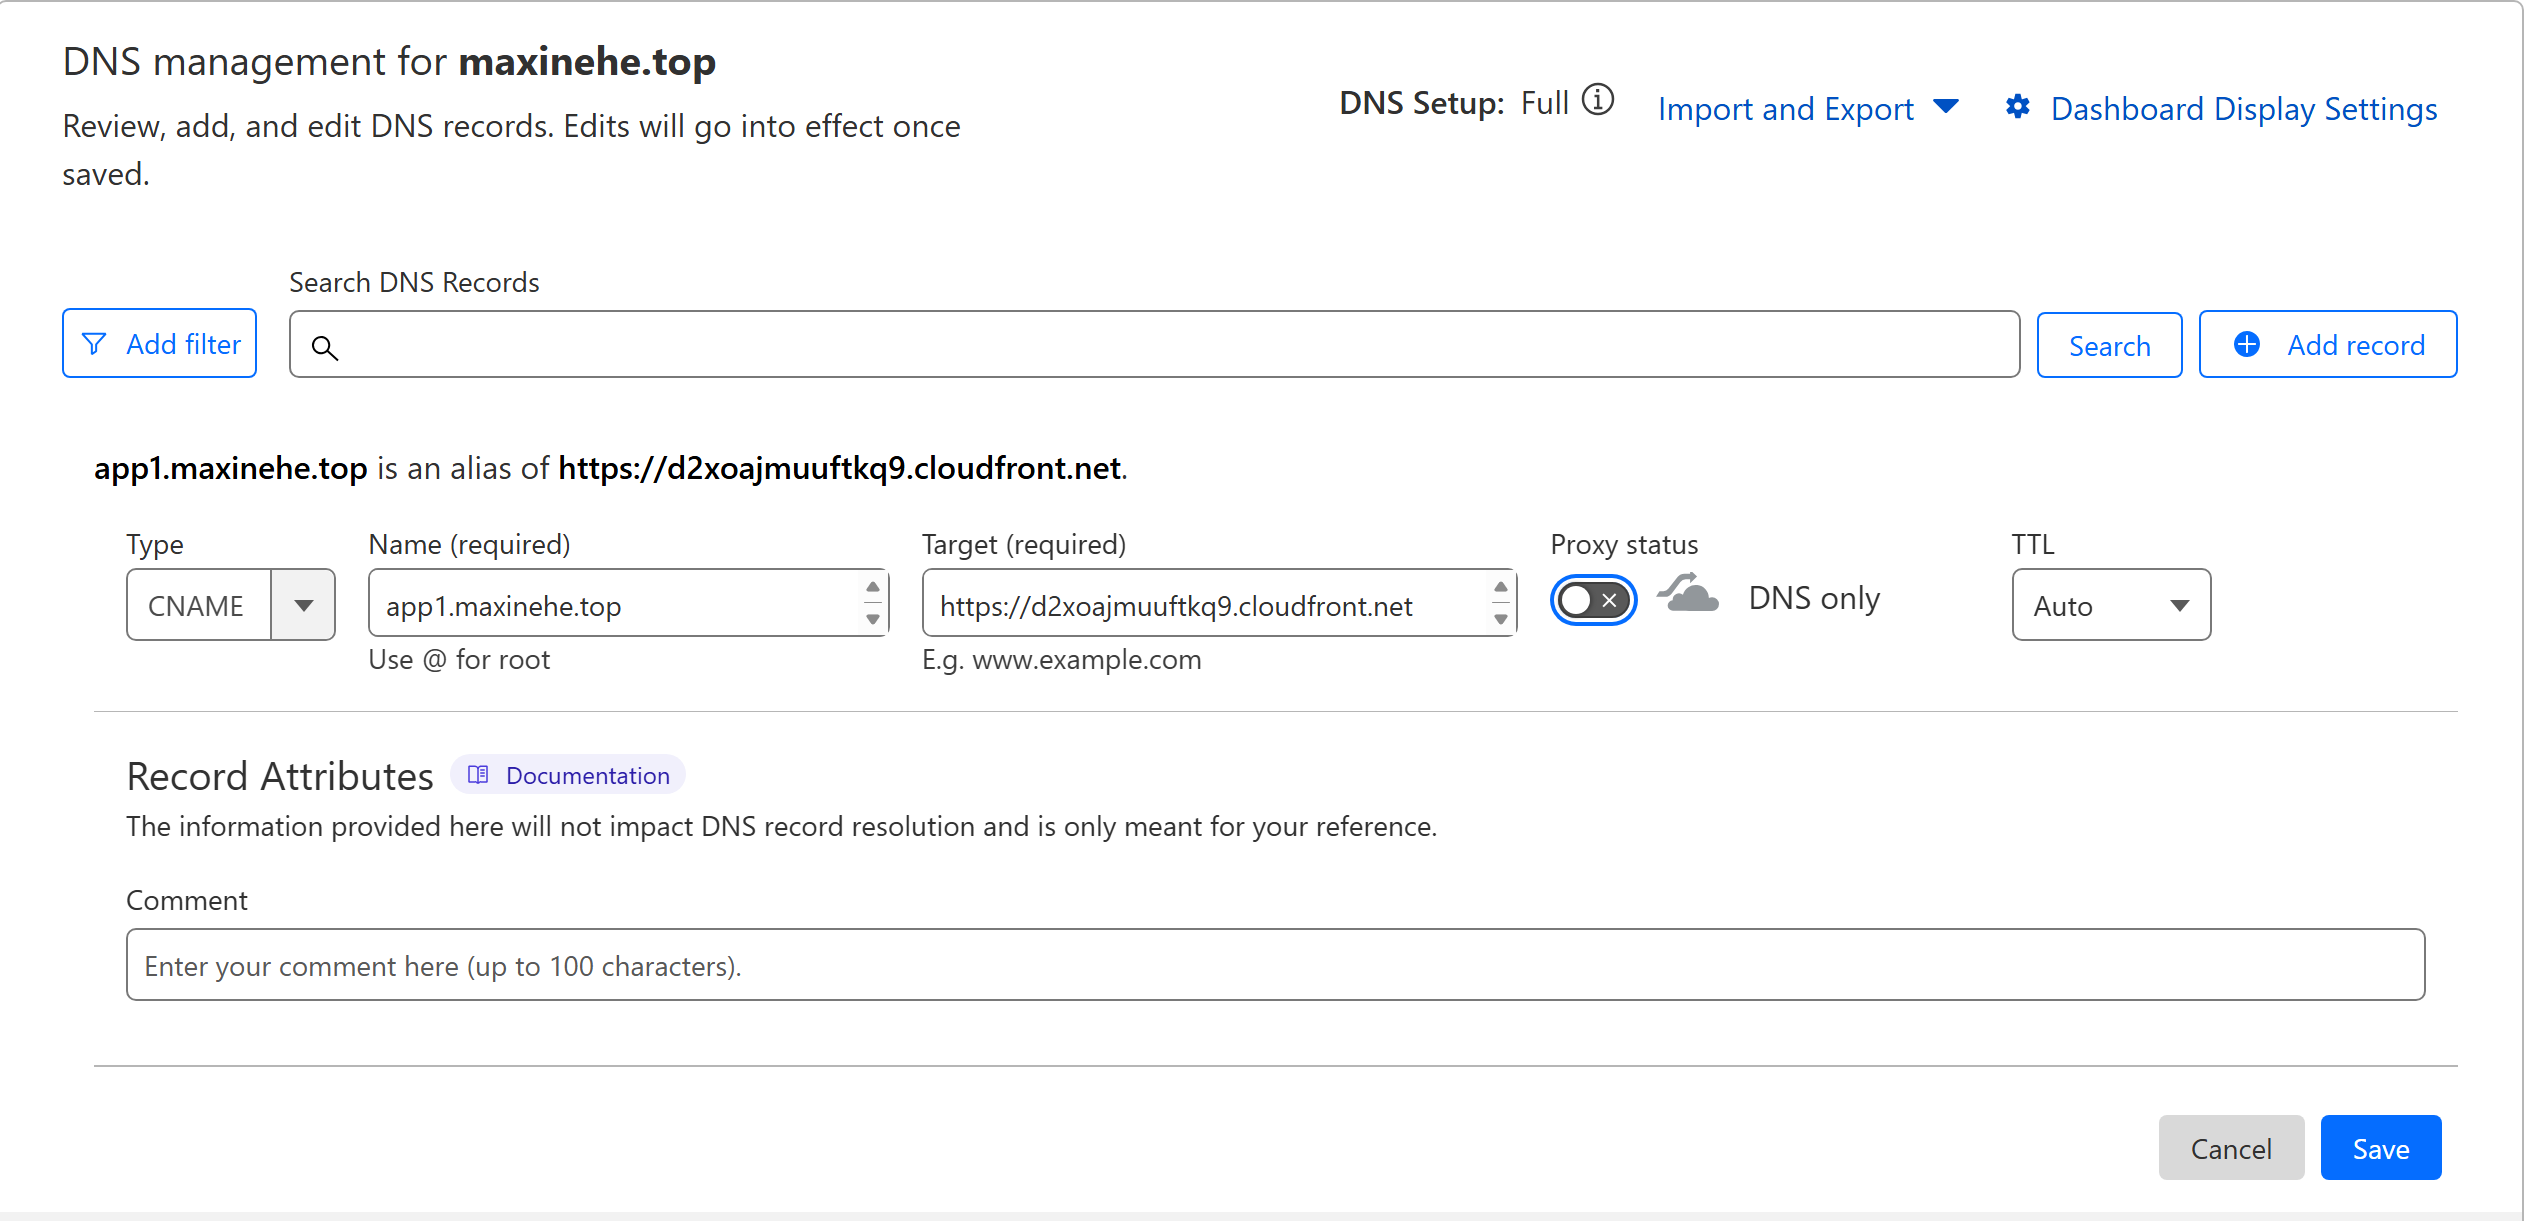
- Add the CNAME record in the DNS record.
- Navigate to the DNS settings for the custom domain.
- Add a new DNS record with the following details:
- Type: CNAME
- Name: app1
- Target: [CloudFront distribution]
- TTL: Auto
- Disable Proxy is the option is provided.
- Save the new DNS record.
This setup ensures secure, efficient content delivery through CloudFront while maintaining proper cross-origin resource sharing.
1 | module "acm_request_certificate" { |
Additional configuration for S3
We need to add a bucket policy to the S3 bucket to ensure that only our CloudFront distribution has access to its contents. This policy is created last in our Terraform configuration to prevent cyclic dependencies. Here’s how we implement it:
1 | # Grant read permission to the CloudFront origin access control |
Final step
After Terraform code is applied successfully. Add a CNAME record in DNS record for our application. Then we are done.
Test out the application
The website is available publicly at https://app1.maxinehe.top.


Look into DynamoDB table

With the user signup process established, let’s move on to the core functionality of our application - the periodic price checking.
Task 2: Periodic Price Checking
Lambda
Here is the Terraform code to create the second Lambda function:
1 | module "lambda" { |
Once the Lambda function is deployed, I’ll utilize the built-in test functionality in the AWS Lambda console. This allows me to simulate various scenarios and ensure the function behaves as expected.
To verify the interaction between Lambda and SNS, I’ll manually modify price data in the DynamoDB table so that SNS is triggered and publish SNS messages.
EventBridge
After confirming the Lambda function’s functionality through thorough testing, we’ll implement an EventBridge schedule to trigger it at regular intervals. The following code snippet, when added to the main.tf file, configures EventBridge to invoke our Lambda function every 2 hours:
1 | resource "aws_lambda_permission" "eventbridge" { |
To adjust the frequency, simply modify the schedule_expression value. For instance, use rate(4 hours) for a 4-hour interval or rate(1 minute) for a 1-minute interval execution.
Manual test
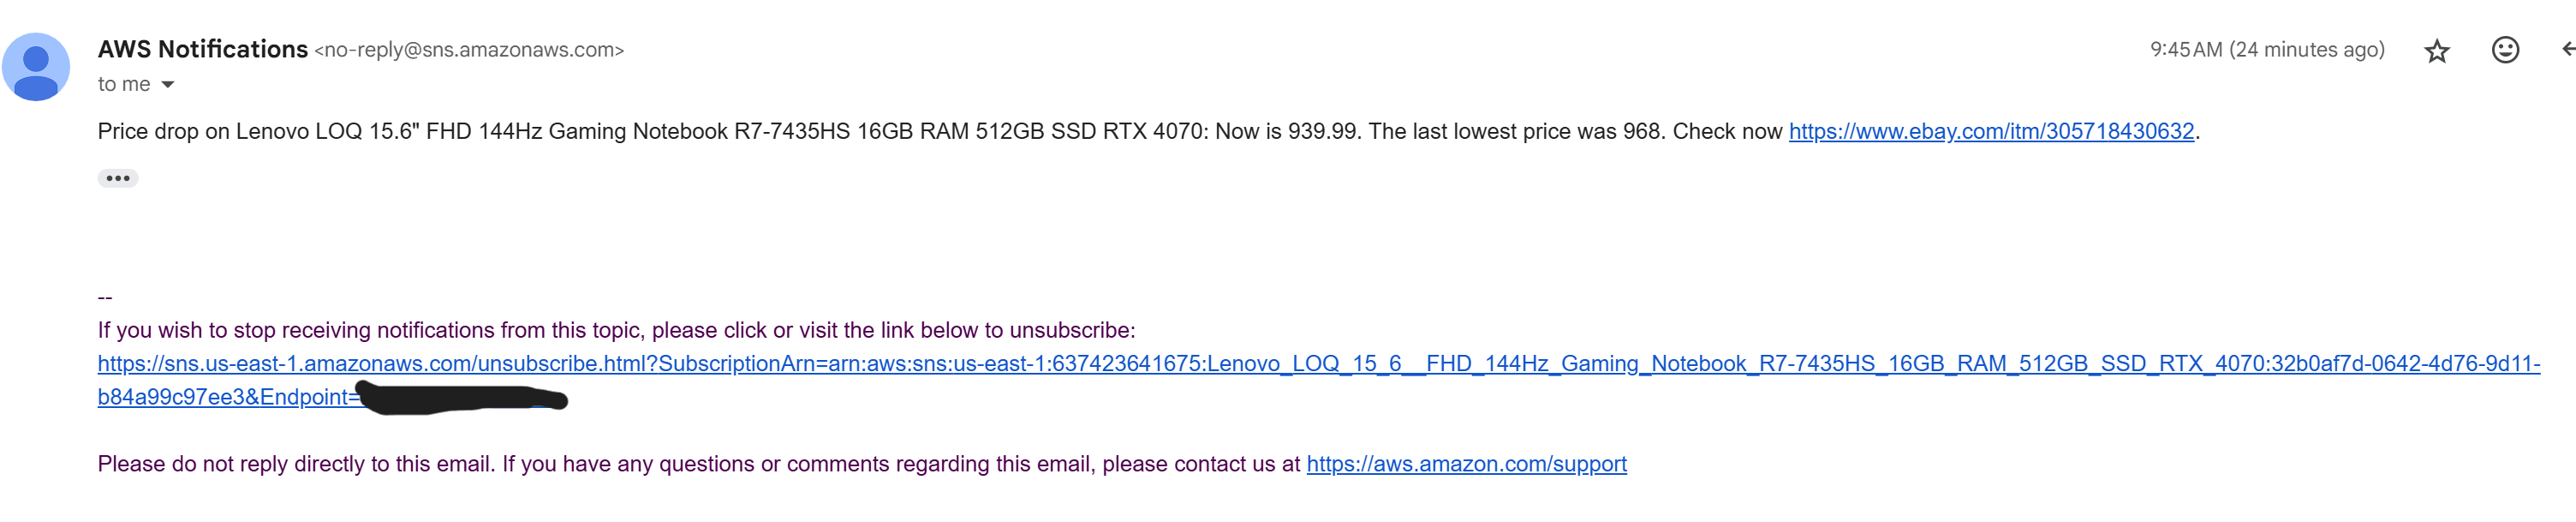
- In the DynamoDB “price_tracker_v1” table, increase the “lowest_price” value for an item. This change simulates a scenario where the current price is lower than the recorded lowest price, triggering a price drop detection in the next run.
- Verify a “price drop” notification email is received by a subscribed user. e.g.
Test the redeploybility of the Application
- Run a script to clean up the SNS topics created by the application.
- Destroy both tasks by running
terraform destroyin the corresponding directory. When prompted, type ‘yes‘. - Once Terraform displays “Destroy complete!“, verify that all resources created for the tasks are no longer visible in the AWS console.
Outcome: All resources are removed except for the ACM certificate, which is retained. - Remove the CNAME record created for
app1in the DNS record. - Redeploy the application by executing
terraform initfollowed byterraform applyin the Task1 and Task2 directories. Type ‘yes‘ when prompted. - Test the application again:
[X] Access the application URL
[X] Confirm that user sign-up works and the database shows the correct item
[X] Ensure that the scheduled task performs as expected.
Conclusion
We have successfully implemented an eBay price tracker utilizing AWS serverless services and Terraform. This project demonstrates the convenience and cost-effectiveness of AWS serverless architecture. The combination of AWS services and Terraform significantly streamlined the development cycle, achieving the goal of rapid application deployment. Our redeployability test confirms Terraform automation ensures consistent and repeatable deployments, with all application components and dependencies correctly recreated.
Further Considerations:
- Core Functionalities:
- Enhance web scraping to consider factors like coupons and multiple sellers.
- Implement authentication to prevent malicious mass signups.
- Develop a system to identify and consolidate different URL patterns for the same item.
- Create a process to clean up stale entries from unconfirmed subscriptions or invalid URLs.
- Transition from SNS to SES for improved email handling.
- Scalability & Performance:
As user signups increase, we need to focus on scalability. While most services are inherently scalable due to their serverless nature, we can make additional improvements:- Increase DynamoDB RCU & WCU or switch to on-demand mode.
- Implement caching for DynamoDB to reduce read operations.
- Optimize Lambda functions for parallel execution.