Containerizing a Django Application
Background
As a capstone project for the Meta Back-End Developer Professional Certificate, I developed a comprehensive restaurant management system. This Django-based web application provides essential features including:
- Table reservation
- Menu and reservation management
- API access for both customers and administrators
Since its initial development, I have implemented several modifications to enhance the customer experience. The current version of the project code is available here.

The Next Step: Kubernetes Migration
To enhance scalability and prepare for future improvements, I will migrate this application to a Kubernetes environment.
Key Challenges and Solutions
- Flexible Django Settings:
- Challenge: Django settings need to be adaptable to different environments (development, staging, production) without changing the code.
- Solution: Utilize Kubernetes ConfigMaps containing environment-specific variables (e.g., DEBUG, ALLOWED_HOSTS, DATABASE_URL).
- Web Server and Proxy:
- Challenge: Need an robust and efficient way to serve the application and handle static files.
- Solution: Implement Nginx as a reverse proxy and web server serving static files and Gunicorn as dynamic web content provider.
- Database Persistence:
- Challenge: Ensuring data persistence across pod restarts.
- Solution: Employ Kubernetes PersistentVolumes (PV) and PersistentVolumeClaims (PVC).
- Secret Management:
- Challenge: Securely managing sensitive information like database credentials.
- Solution: Leverage Kubernetes Secrets.
Process Diagram

When a web request is sent to the Nginx service, it first checks if the requested content is part of the static files. If so, Nginx serves these files directly, optimizing the delivery of static assets like images and stylesheets. For dynamic content, the request is forwarded to the Django service, which processes it using Django and Gunicorn. This service may interact with the MySQL service to perform data read or write operations, ensuring that dynamic content is generated based on current data.
Implementation Steps
The migration process involved the following key steps:
- Customization:
- Modify Django settings to accommodate the Kubernetes environment.
- Containerization:
- Containerize the Django application and its dependencies.
- Push code to GitHub, triggering GitHub Actions for automatic code review, and create and push the container image to Docker Hub.
- Kubernetes Resources:
- Create necessary YAML files for deployments, services, and persistent volumes.
- Implement ConfigMaps and Secrets for managing environment variables.
- As for easier continuous deployment, use ArgoCD to auto-sync YAML files.
- Employ Keel to monitor Docker image changes and update deployments if an image change is detected.
- Deployment:
- Apply all resource files to the local Kubernetes cluster.
- Testing:
- Thoroughly test the functionality of the application in the Kubernetes environment.
All Kubernetes configuration files and updated application code are available in the project’s github repository.
Preparation of Django Application
Before creating an image for the Django application, we need to modify and add lines in settings.py so that we have control over Django when it’s running in a container::
1 | DEBUG = os.getenv("DEBUG") |
DEBUG: Enable or Disable Debug mode on Django. It is recommended to disable this option unless troubleshooting is needed.ALLOWED_HOSTS: A list of strings representing the host/domain names that this Django site can serve.CSRF_TRUSTED_ORIGINS: A list of trusted origins for unsafe requests (e.g., POST). This setting is particularly important in production environments where requests might come from various domains or subdomains.DATABASES: We will use ConfigMap later to pass DB information to Django server.STATIC_ROOT: The absolute path to the directory where collectstatic will collect static files for deployment. If the staticfiles contrib app is enabled (as in the default project template), the collectstatic management command will collect static files into this directory. Nginx will serve static files directly from the directory.BASE_DIR: Define the base directory of the Django project.TEMPLATES: Specifies where templates are located; ensure Django has access to the correct path since templates are not served as static files.MIDDLEWARE: Add'restaurant.middleware.HealthCheckMiddleware',, which is a custom middleware which handles health check requests without triggering CSRF warnings. We also need to add a middleware.py file under the restaurant folder.
1 | # middleware.py |
Creating Docker Image for Django Application
Run pip freeze > requirements.txt to get a list of all packages needed for the local development environment.
Here is what I got:
1 | asgiref==3.7.2 |
Create a Dockerfile
1 | FROM python:3.11 |
Once code is pushed to GitHub, a GitHub Action is triggered to review the code using SonarQube. It then builds a Docker image and pushes it to Docker Hub. Finally, the image is scanned for vulnerabilities using Trivy, and the results are posted under the Security tab in GitHub.
Django YAML Files
Create a new namespace for our application.
Namespace: django-app-ns.yml
1 | apiVersion: v1 |
In this ConfigMap, we provide necessary environment variables for Django settings.
ConfigMap: django-config.yml
1 | apiVersion: v1 |
Create PersistentVolume and PersistentVolumeClaim for data storage. Here, hostPath is used as the type of PersistentVolume; for Docker Desktop on Windows, ensure that /run/desktop/mnt/host/ prefixes the path.
The PersistentVolume is set to ReadWriteMany, as both Django and Nginx pods need access to the staticfiles.
PersistentVolume: staticfiles-pv.yml
1 | apiVersion: v1 |
PersistentVolumeClaim: staticfiles-pvc.yml
1 | apiVersion: v1 |
Now, we are ready to create a deployment for Django. In this deployment configuration, an init container waits for MySQL service to start before launching the Django pod. After Django pod starts, a lifecycle hook is set to run commands necessary for migration and collect static files to the designated location /data/static.
Deployment: django-deploy.yml
1 | apiVersion: apps/v1 |
A service for Django pod then can be added. The NodePort is enabled for testing purpuse and should be disabled after testing.
Service: django-svc.yml
1 | apiVersion: v1 |
MySQL Database Configuration
MySQL YAML Files
PersistentVolume: mysql-pv.yml
A PersistentVolume and a PersistentVolumeClaim need to be created for MySQL database. Ensure that the directory path /c/temp/k8s/db-data/ is empty on the host before the initial start; otherwise, MySQL may fail during initialization.
1 | apiVersion: v1 |
PersistentVolumeClaim mysql-pvc.yml
1 | apiVersion: v1 |
Secret: mysql-secret.yml
1 | apiVersion: v1 |
Deployment: mysql-deploy.yml
1 | apiVersion: apps/v1 |
Service: mysql-svc.yml
1 | apiVersion: v1 |
Nginx Server Configuration
Nginx YAML Files
ConfigMap: nginx-config.yml
This ConfigMap provides necessary configurations for the Nginx server.
1 | apiVersion: v1 |
Deployment: nginx-deploy.yml
1 | apiVersion: apps/v1 |
Service: nginx-svc.yml
1 | apiVersion: v1 |
Deploying Kubernetes Resources
My local Kubernetes cluster is Docker Desktop’s one-node Kubernetes cluster in version 1.30.2.
Set django-app as the default namespace for convenience:
1 | kubectl config set-context --current --namespace=django-app |
Get MySQL Database ready
Run kubectl apply -f .\DB\ to create all resources related to MySQL.
Make sure that the MySQL pod stays in a running state. If pods are in a crashing state and their logs can’t be viewed with kubectl logs command, view container logs from Docker desktop.
1 | PS > kubectl apply -f .\DB\ |
To verify the credentials were created for MySQL database, test the access to the database using a temparary MySQL pod as shown below:
1 | PS > kubectl run -it --rm --image=mysql:8.3 --restart=Never mysql-client -- mysql -h mysql-svc -u admin -pemployee@123 |
Get Django ready
Run kubectl apply -f .\Django-app\ to create all resources related to Django. Then verify Django pods remain in a running state.
1 | PS > kubectl apply -f .\Django-app\ |
With the NodePort service set for Django, we can test it in the browser at **http://localhost:30000**.
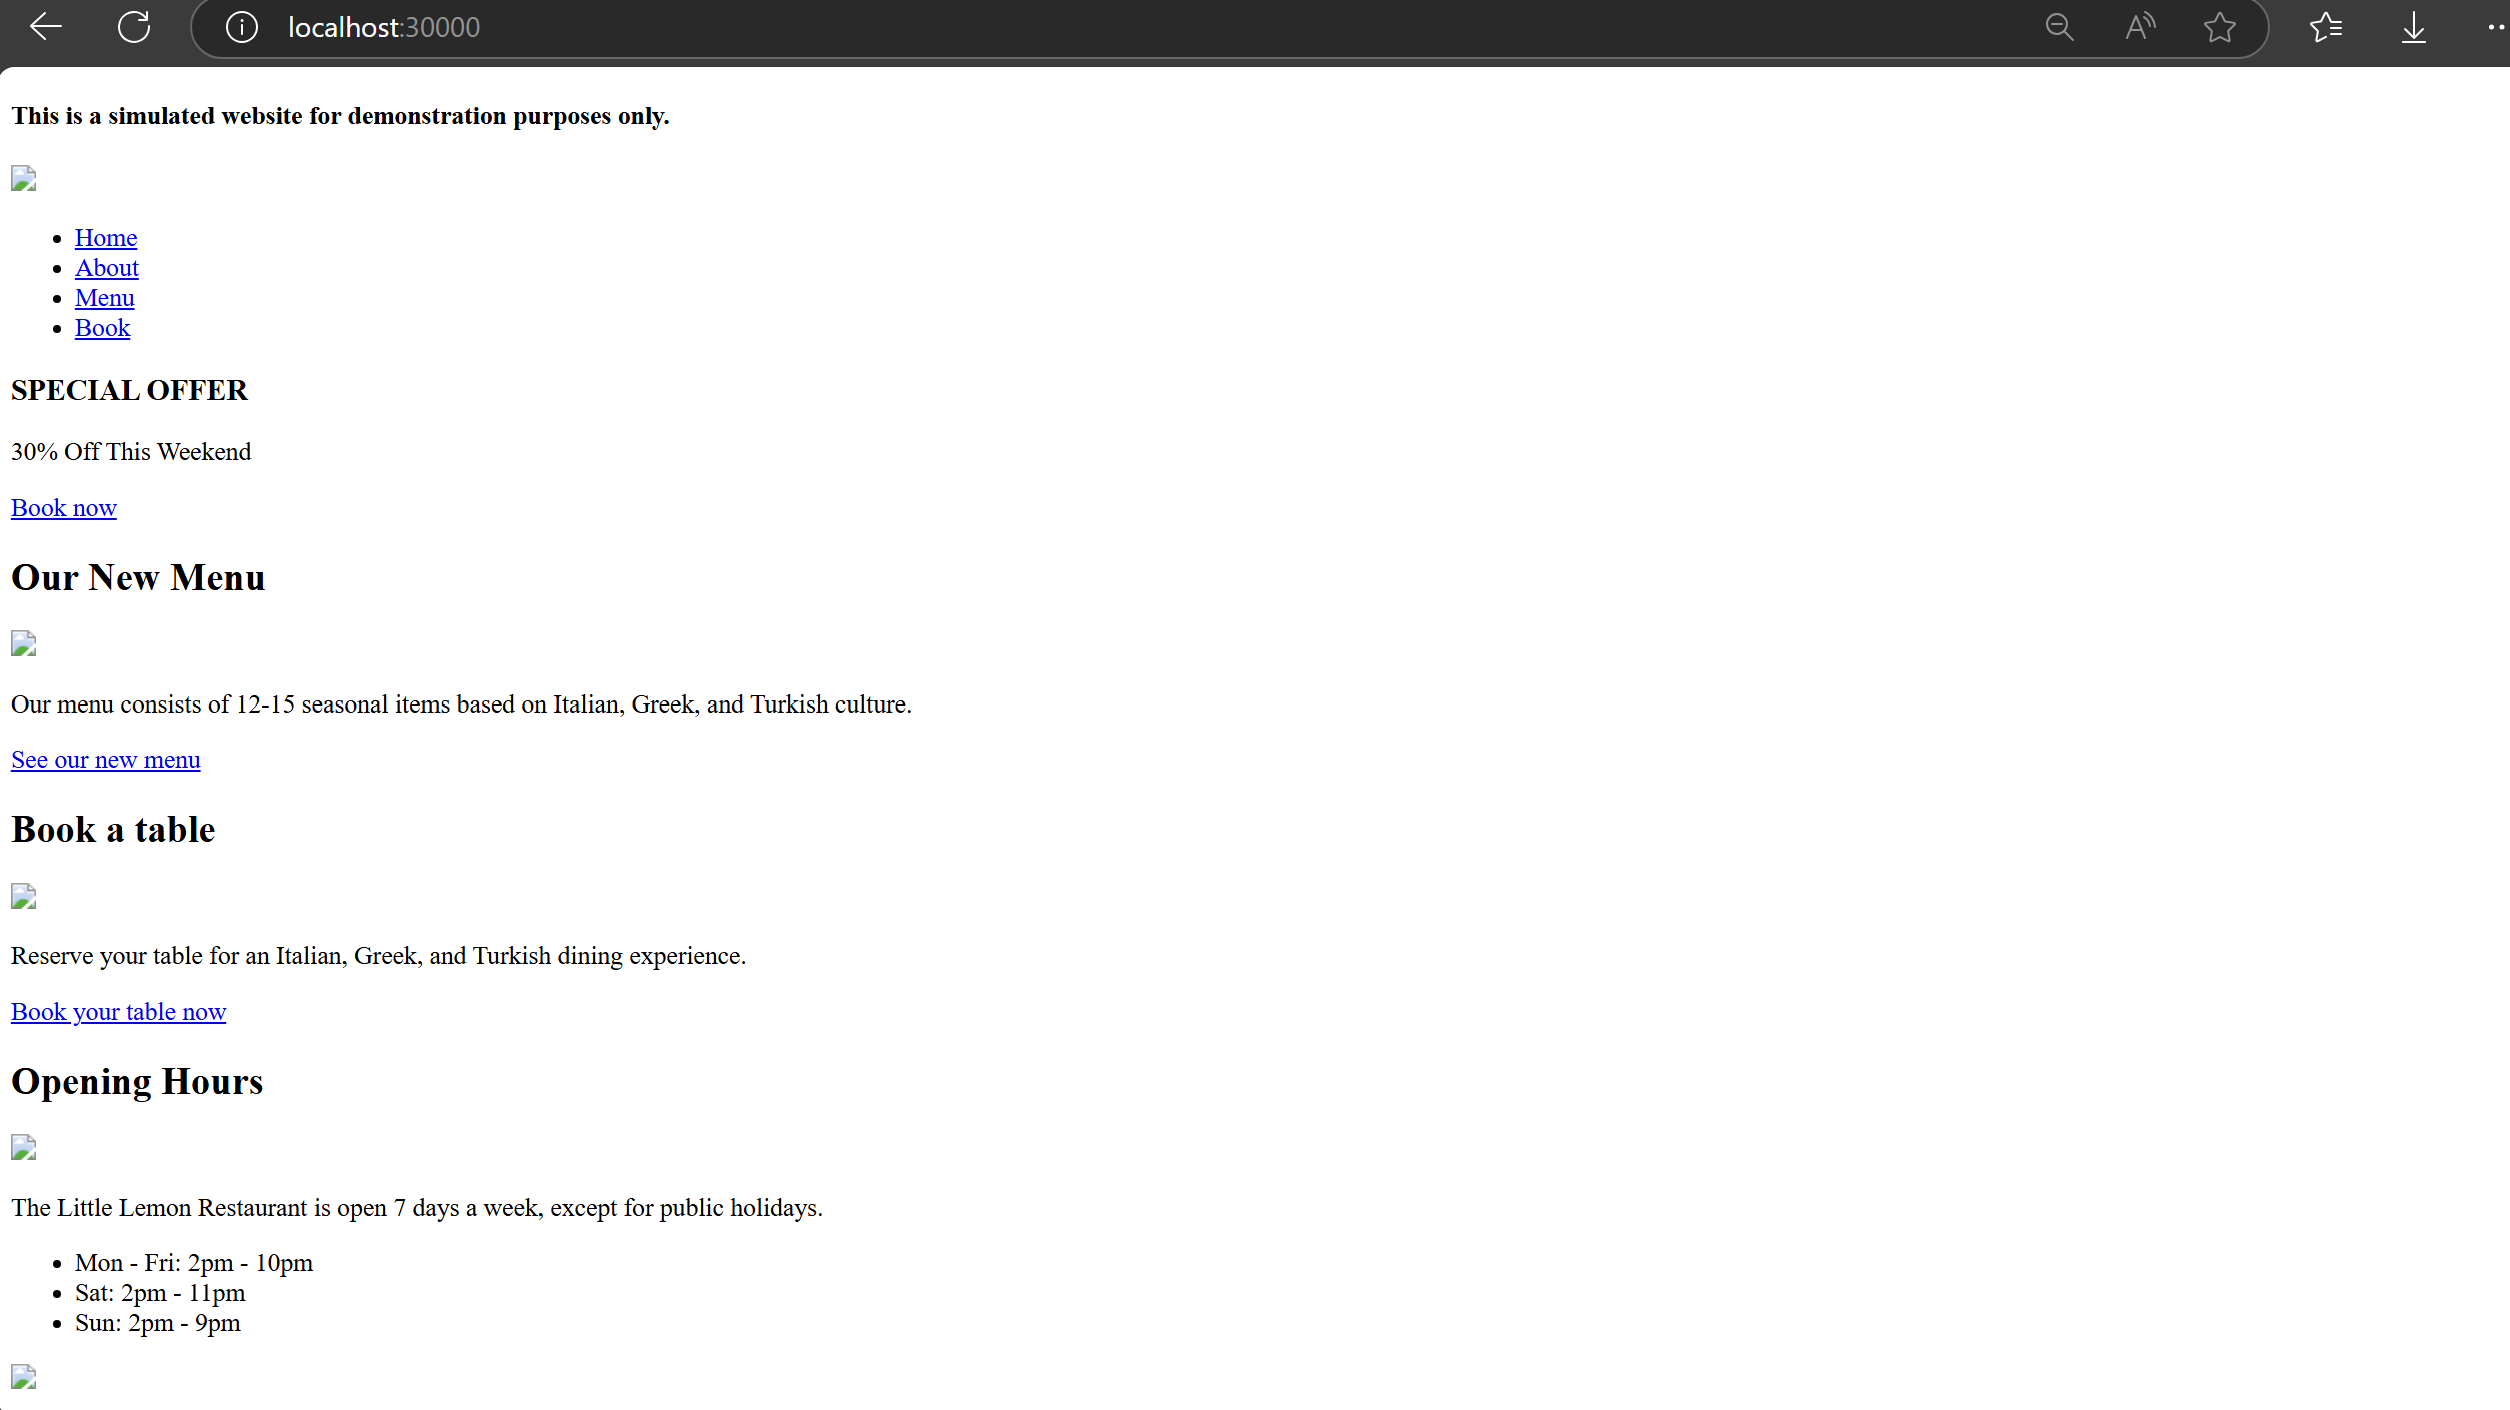
Note: There may be issues with serving static files. Research suggests this is related to Gunicorn, which is not designed to serve static files efficiently. This is why we’ll use Nginx to handle static files more effectively.
Get Nginx ready
As the same, run kubectl apply -f .\Django-app\ to create all resources related to Nginx.
1 | PS > kubectl get pod |
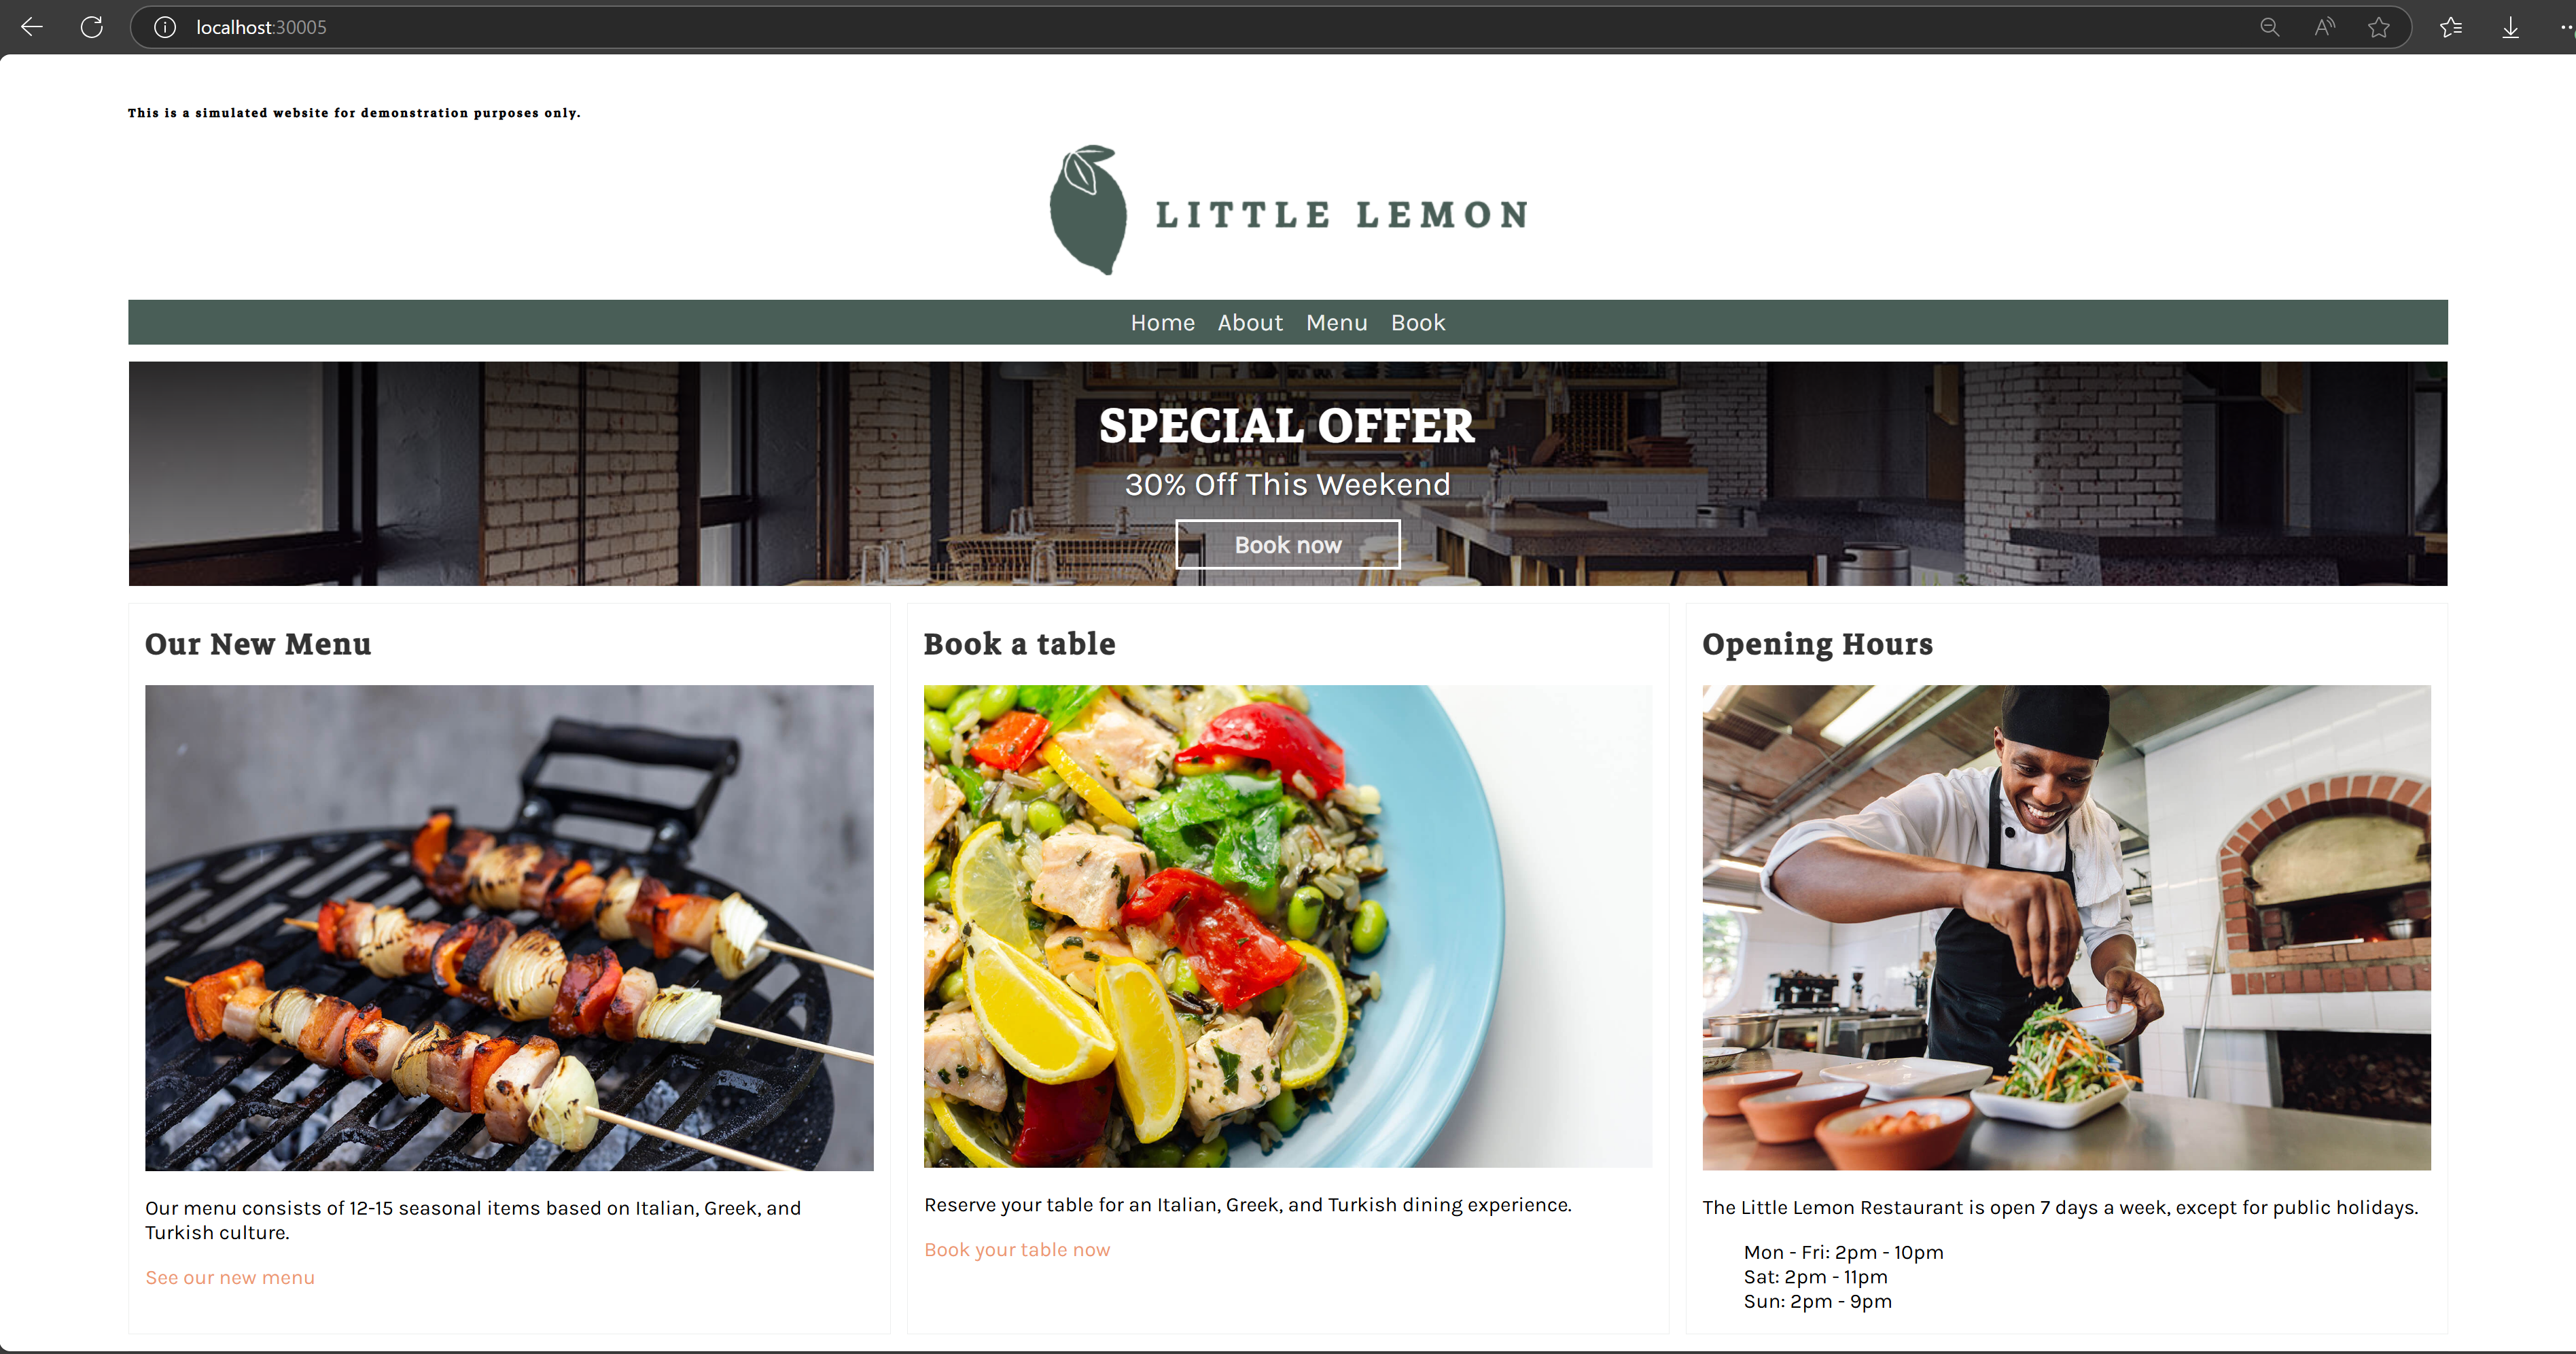
Test the connection in browser at http://localhost:30005.
Test the Deployed Application
Verify Website Functionality
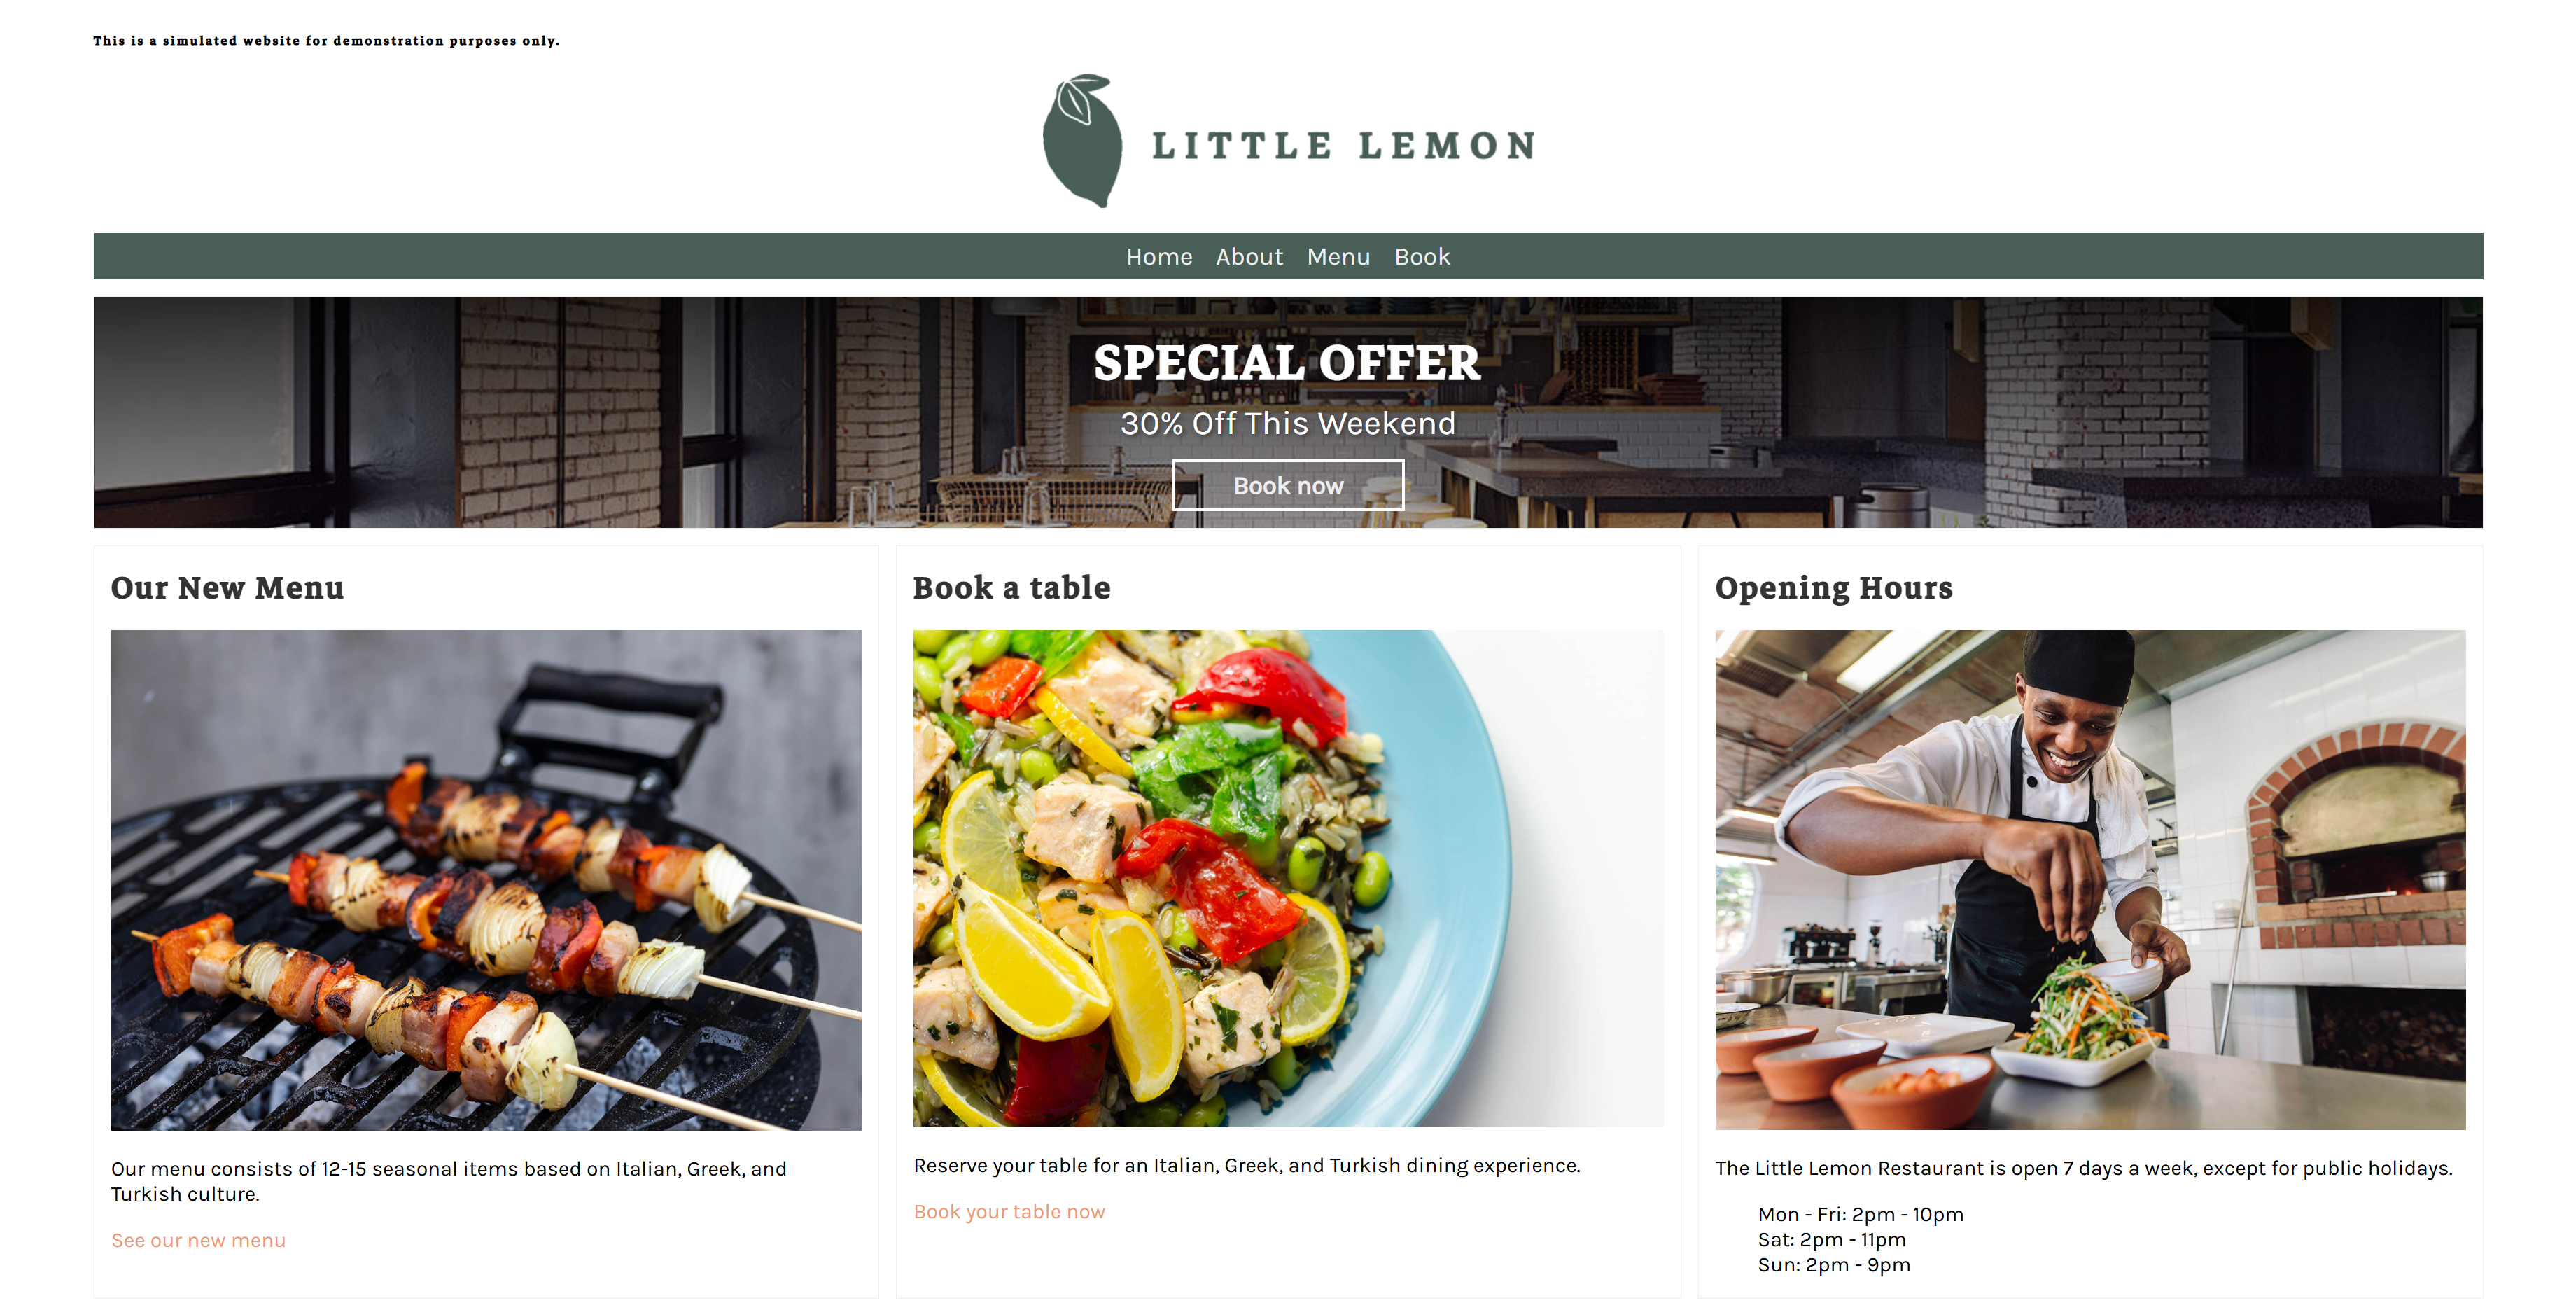
Home page
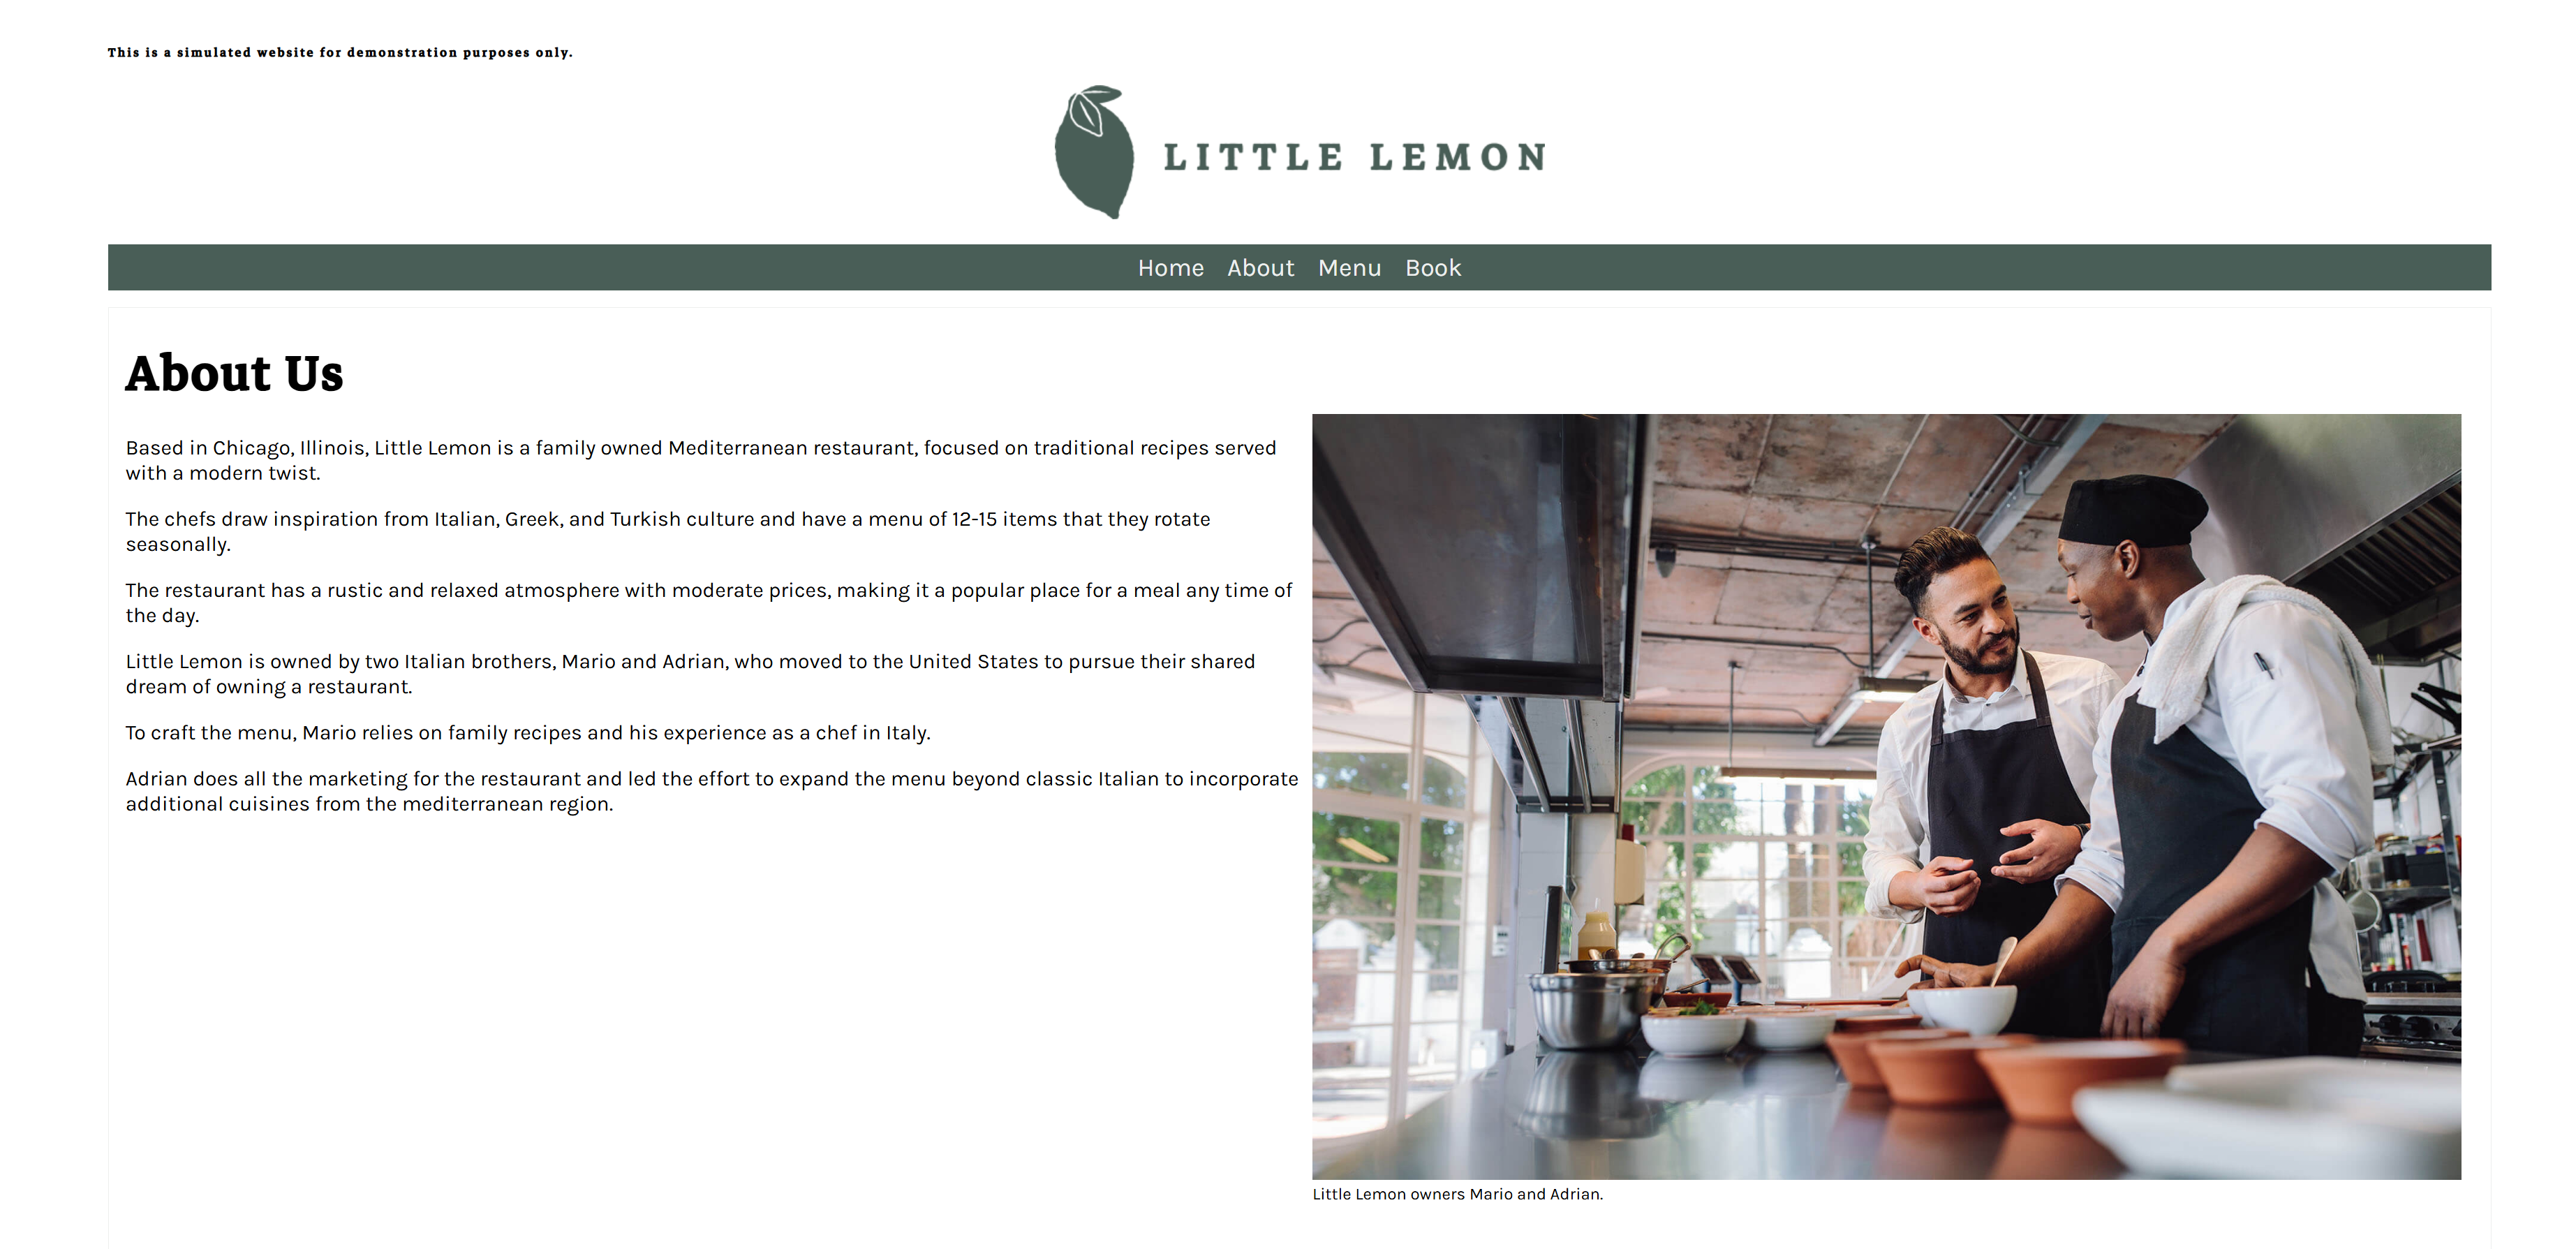
About page
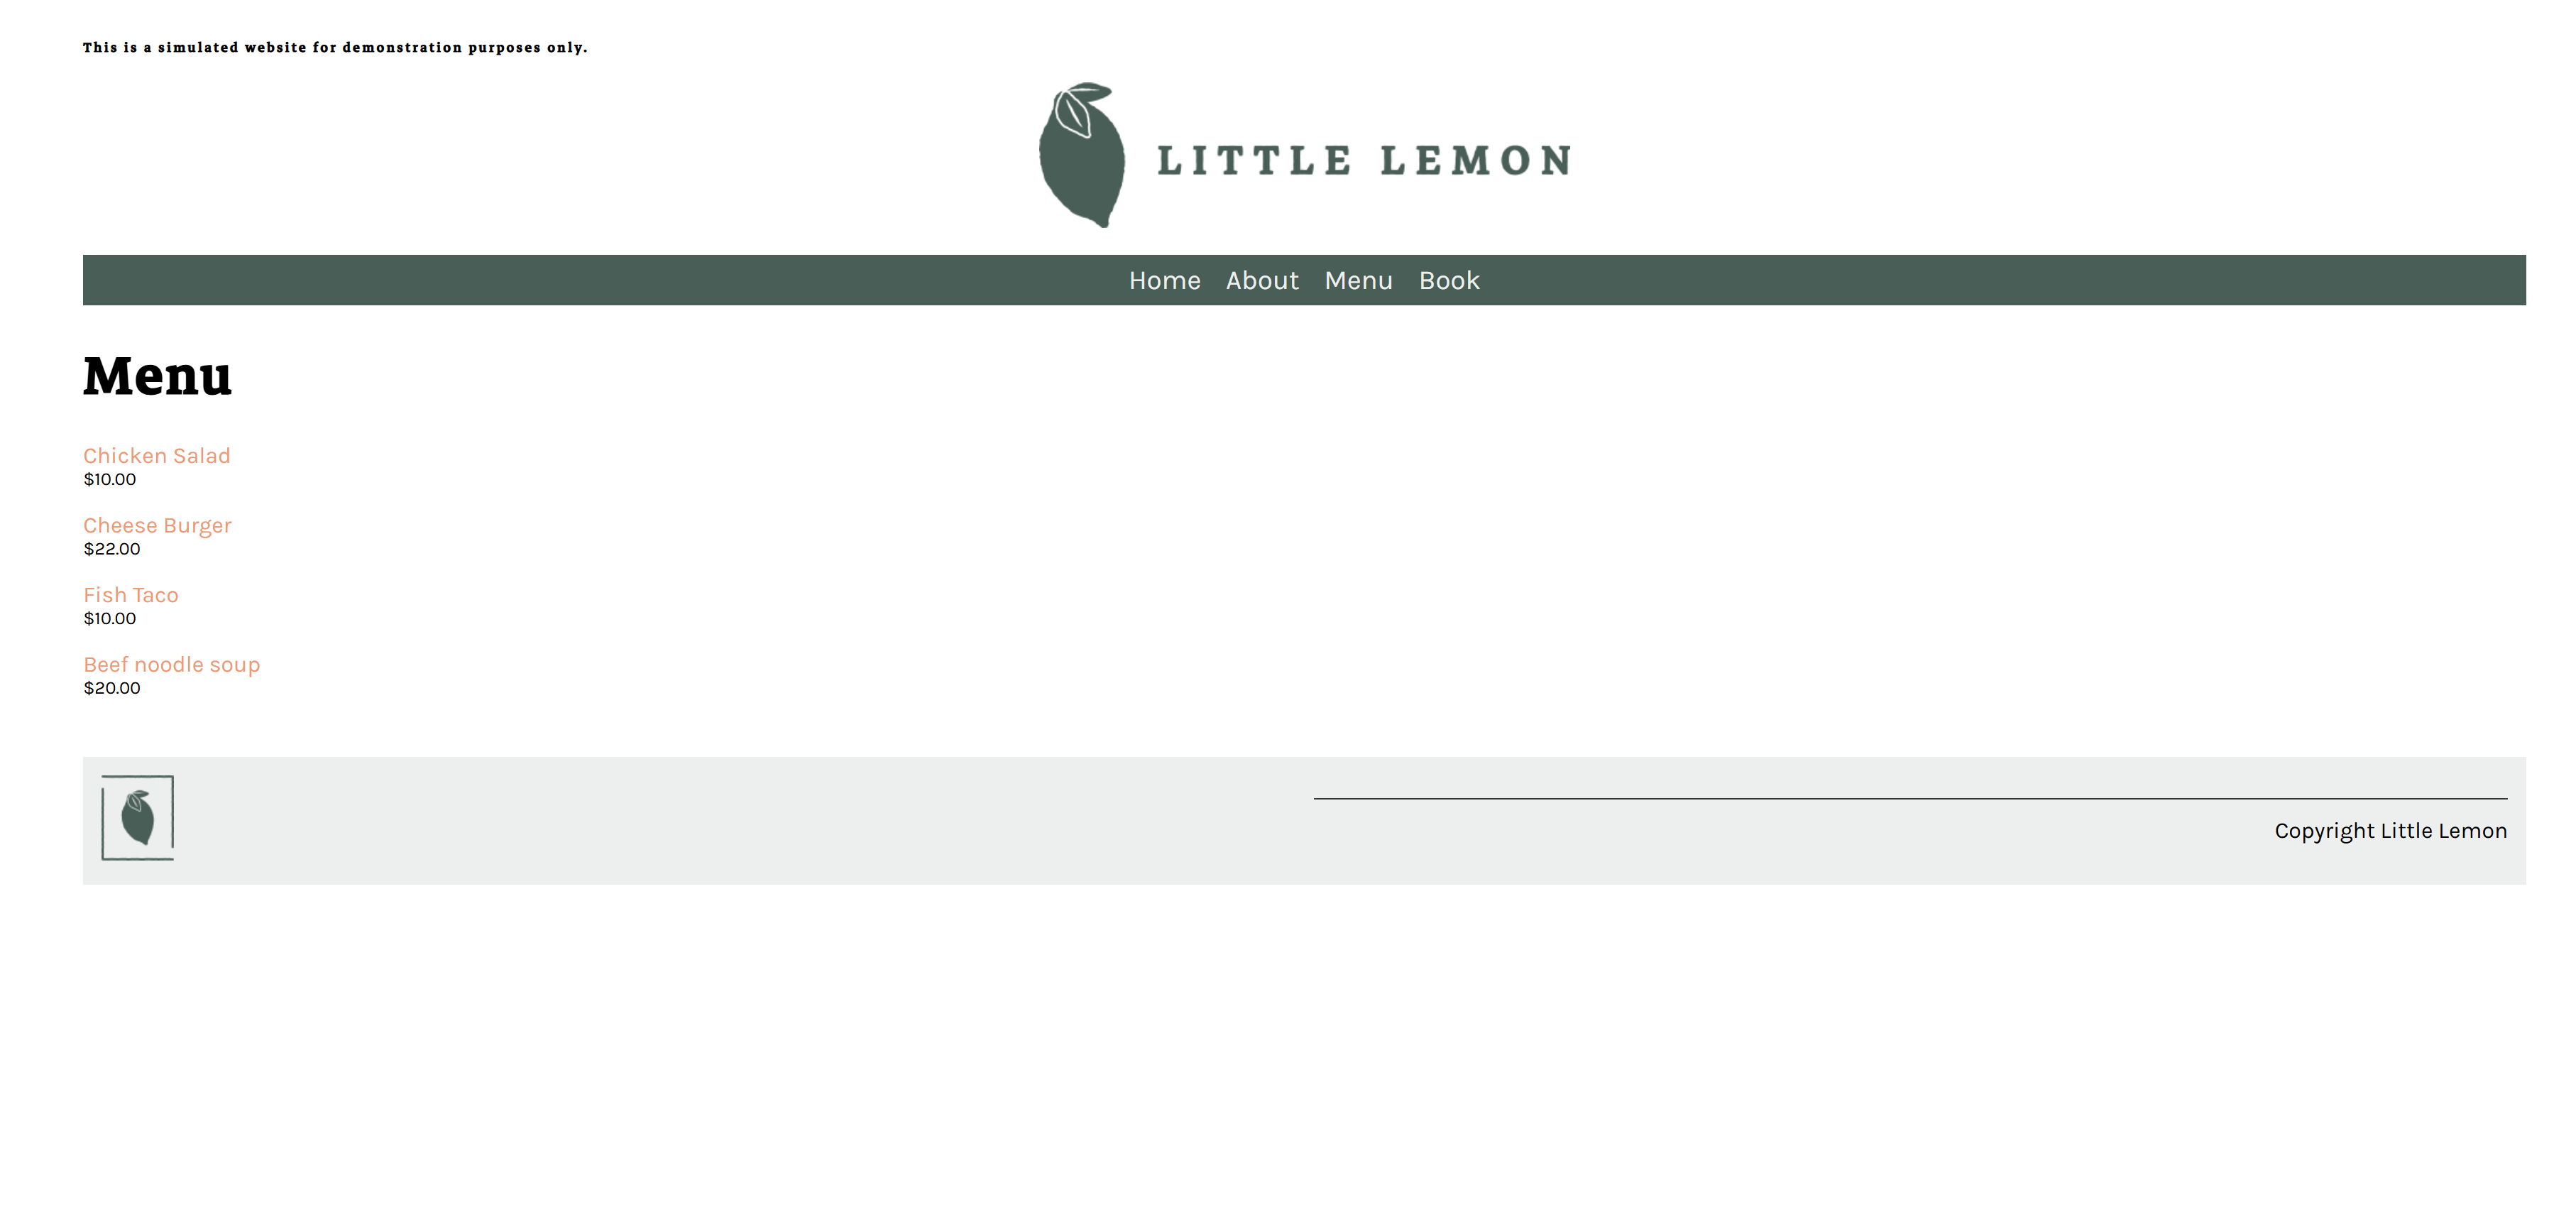
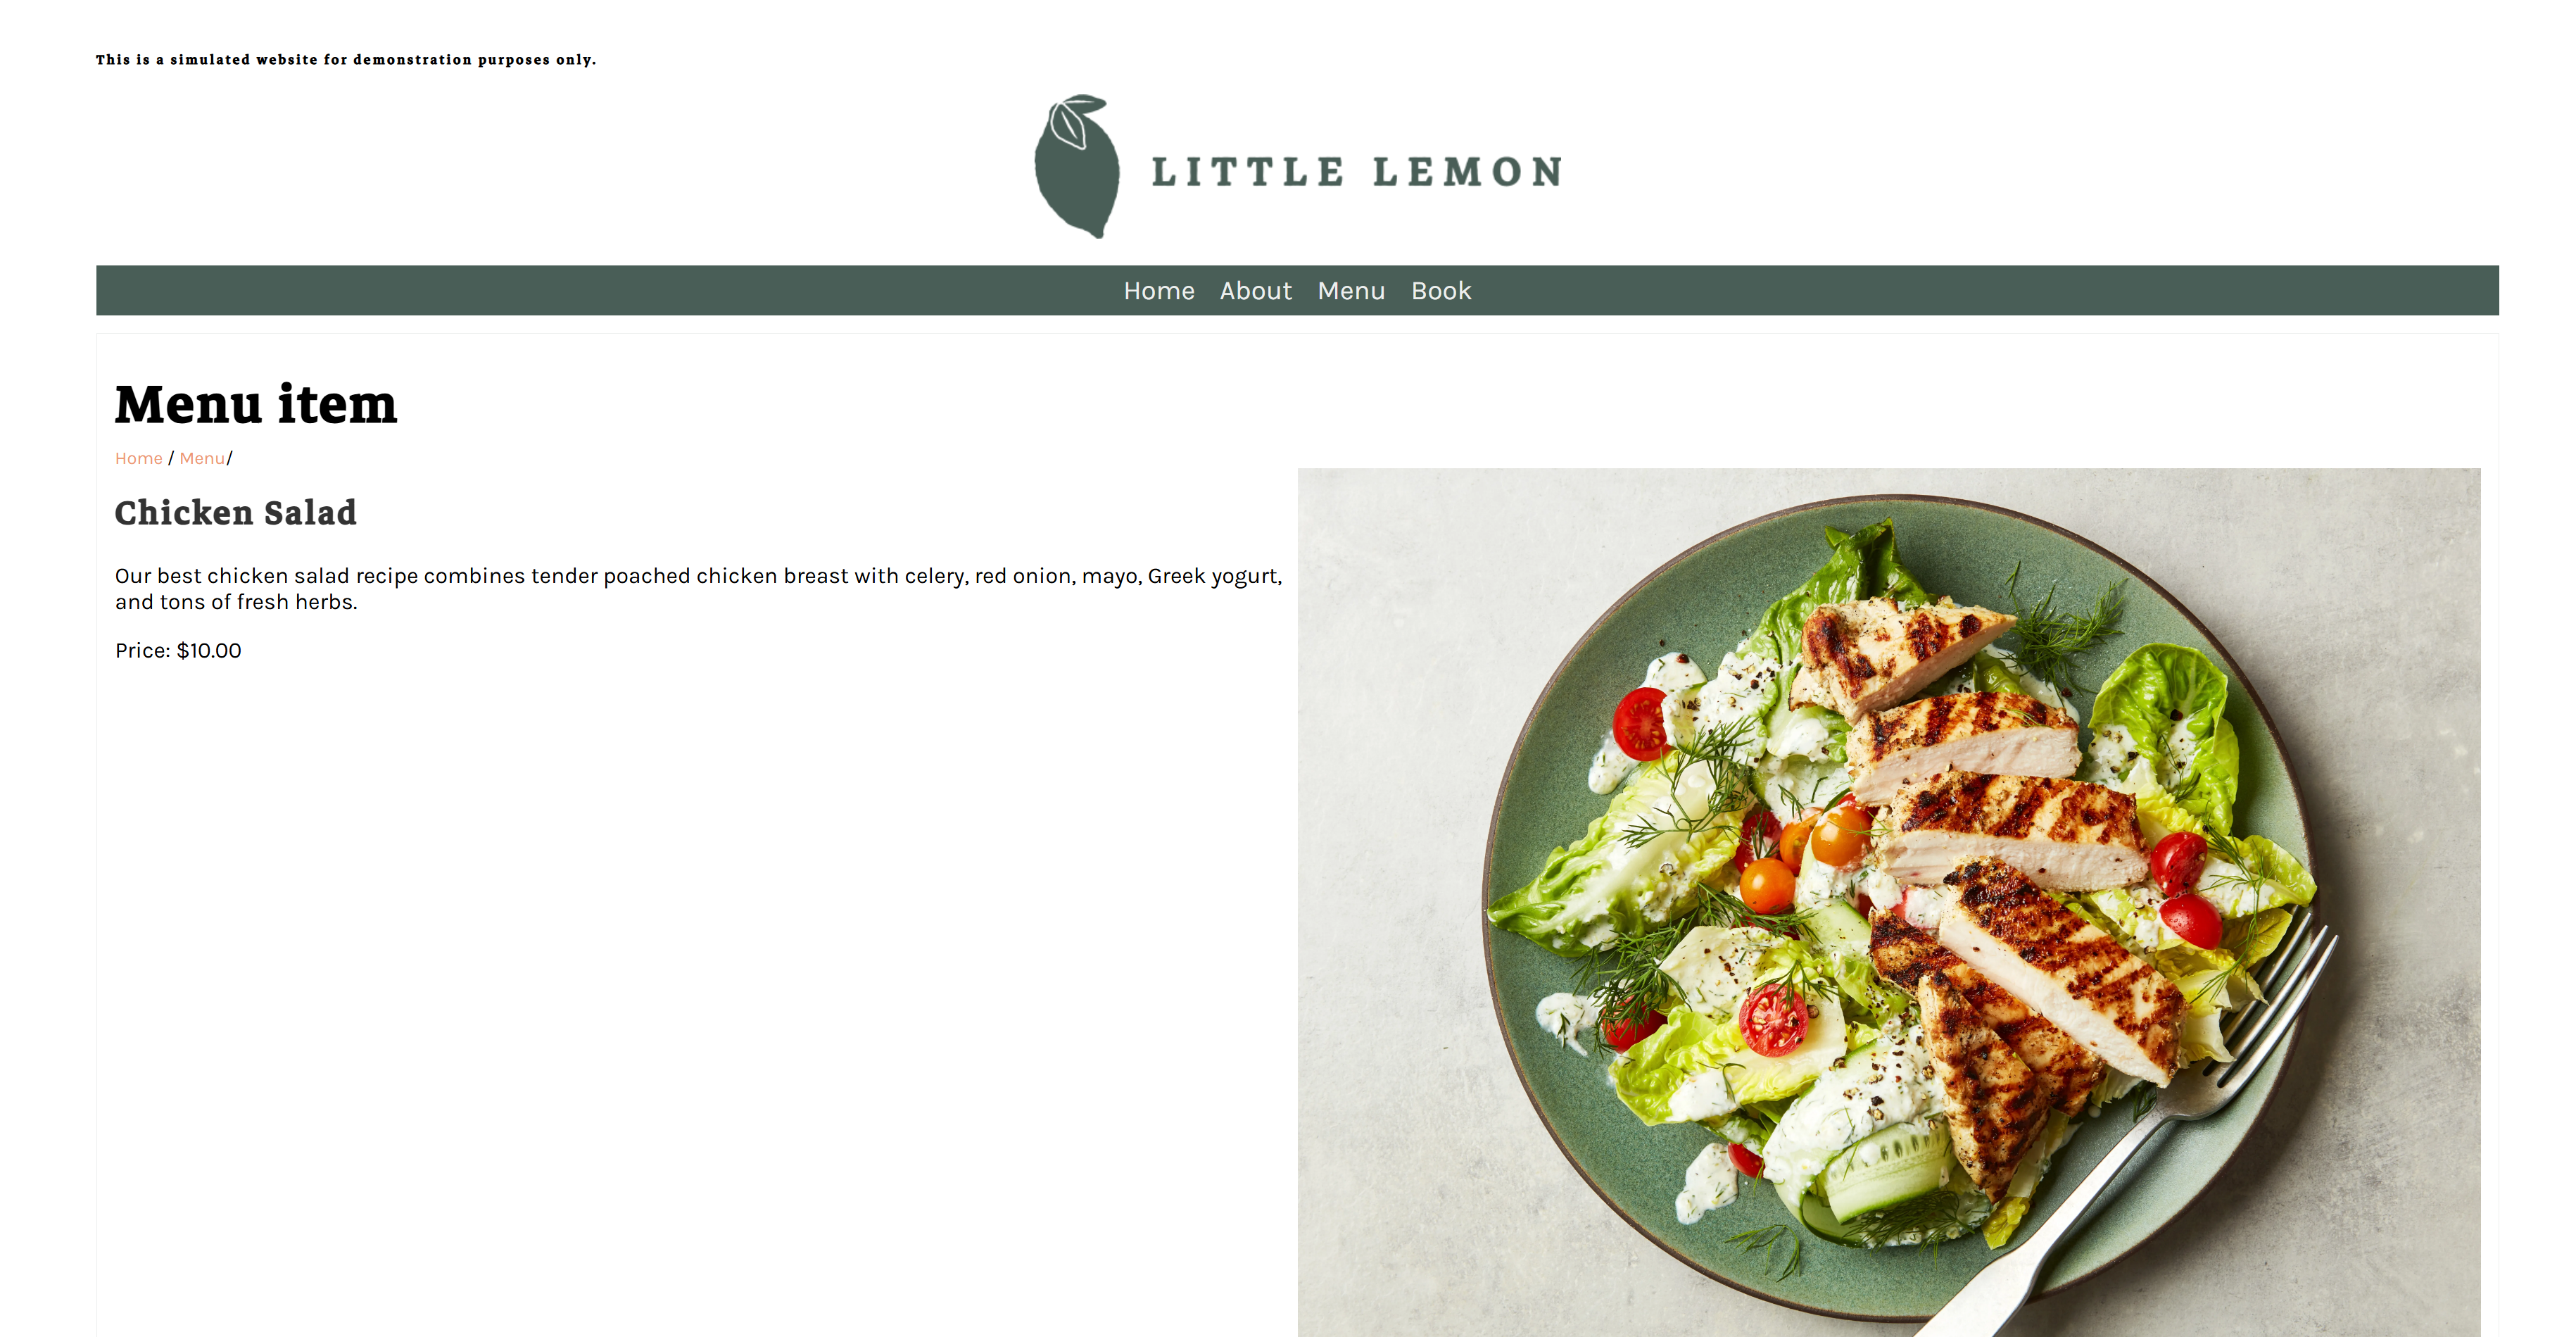
Menu page
Reservation page

On Sept. 24, there are few time slots available except 11AM and 12PM.

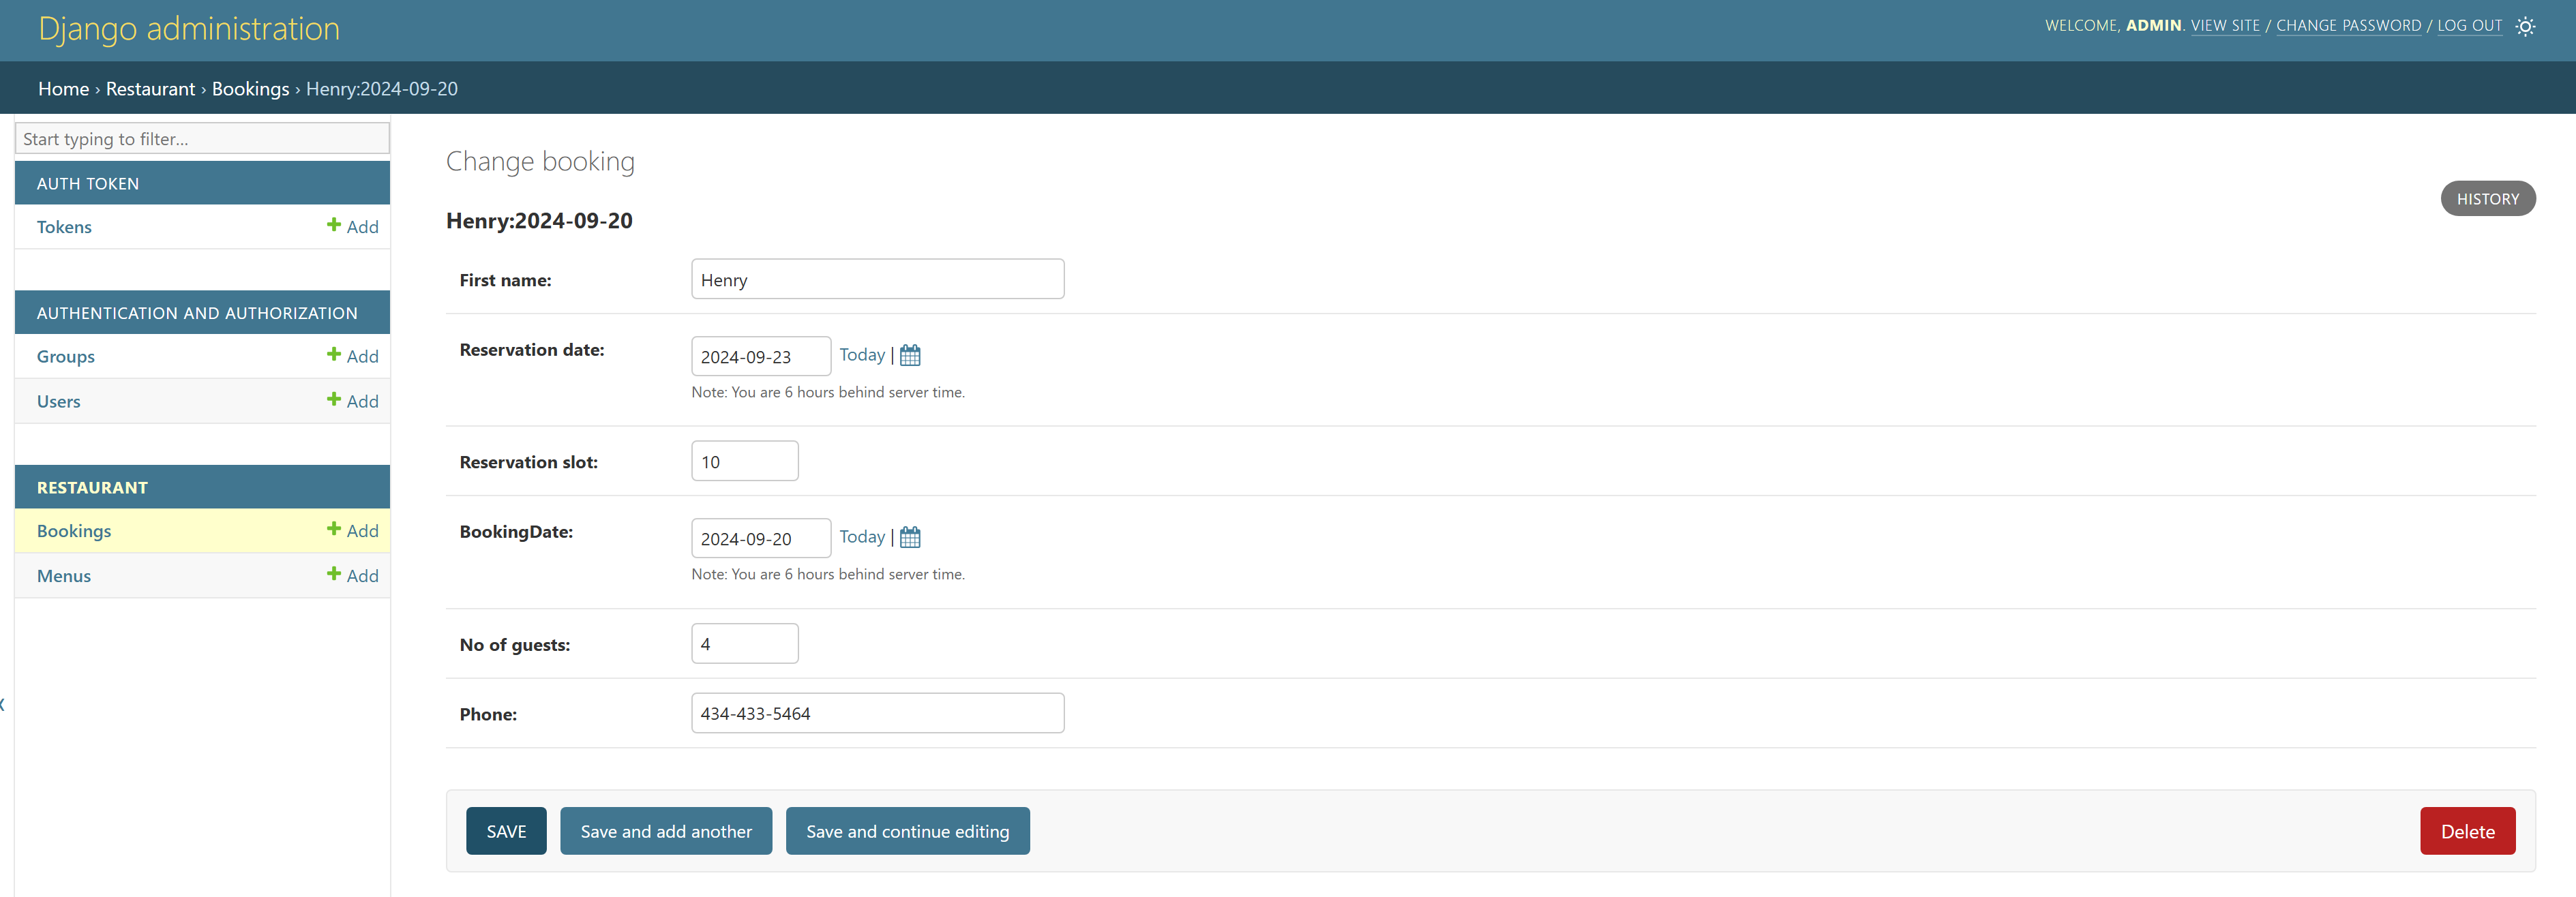
We made a reservation for Henry on Sept. 24 at 1PM.
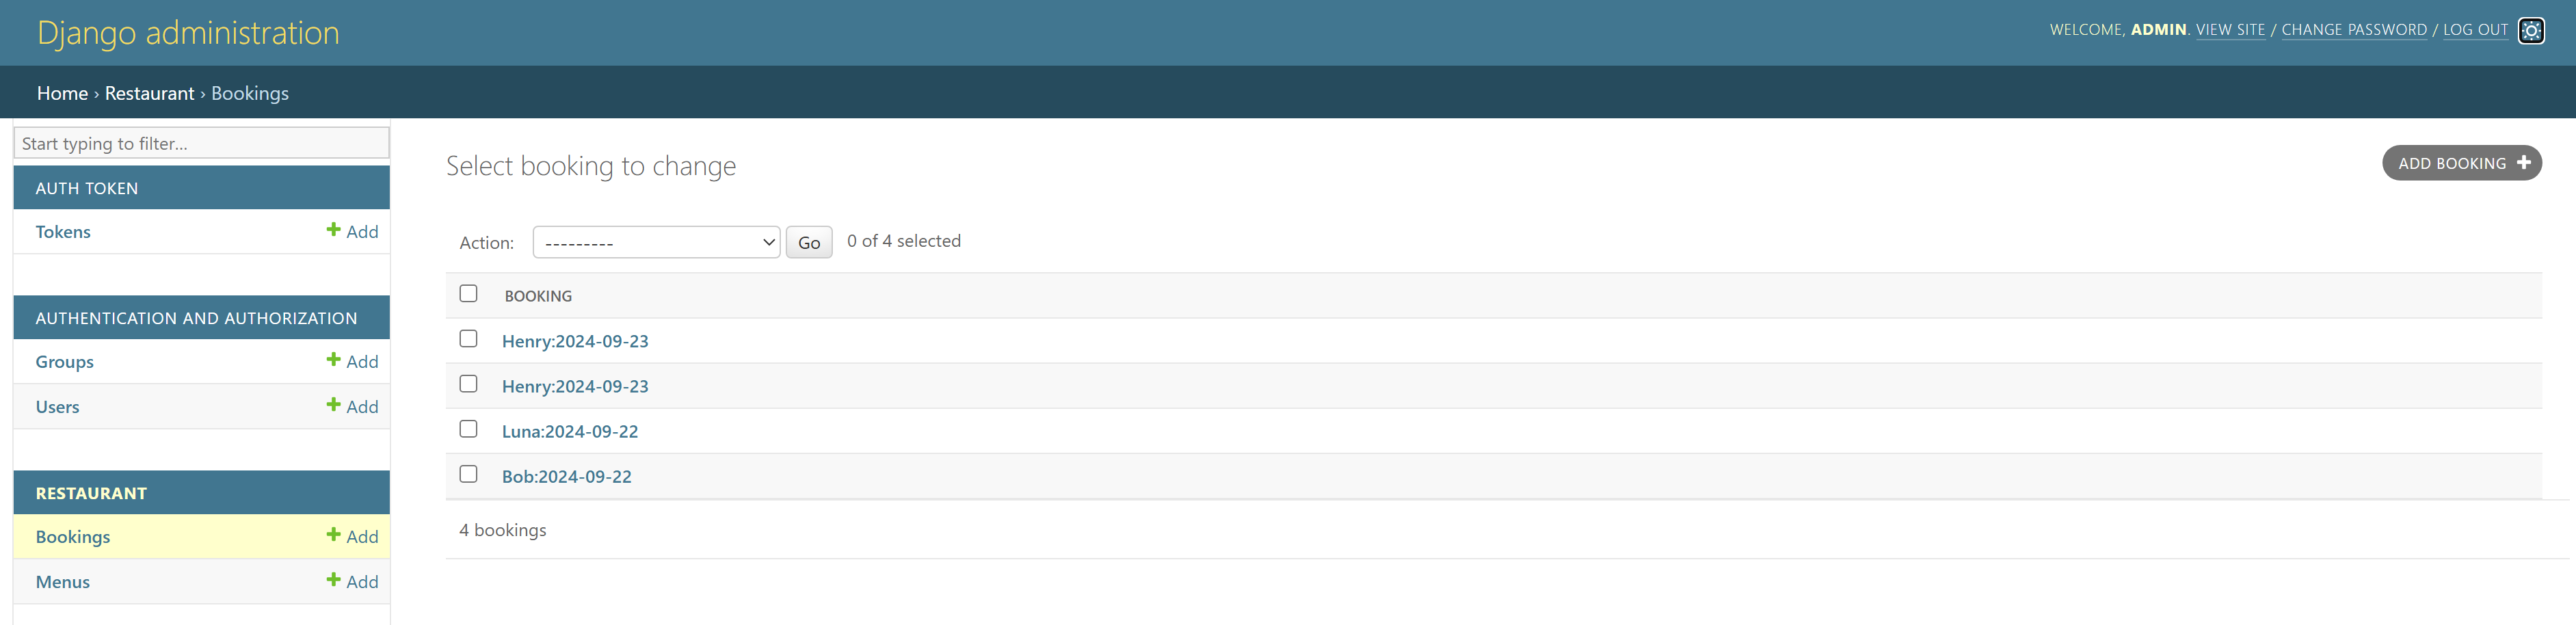
Verify the Django Admin Portal
We need to access the Django pod and run python manage.py createsuperuser to create a superuser first. Use the following credentials (for testing purposes only):
- Username: admin
- Password: Admin
Note: Using simple credentials like this is not recommended for production environments.
1 | PS > kubectl exec -it django-deploy-68bb98fcff-5ch2p -- /bin/bash |
The Django admin user should be able to edit the menu and manage reservations through the admin portal.


Verify API Functionalities
Use Insomnia or a similar API testing tool to verify the following endpoints:
Admin view:
GET: View all Reservations:


GET: View menu items


POST: make a reservation


POST: add a new menu item


PATCH: Modify a reservation


PATCH: Modify a menu item


DELETE: Delete a reservation


DELETE: Delete a menu item


User view:
Create a user without any admin priviledges


GET: View menus


GET: View reservations (only reservations under user’s name should be visible)


POST: Add a menu item (request should be denied)


POST: Make a reservation


PATCH: Modify a menu item (request should be denied)


PATCH: Modify a reservation


DELETE: Delete a reservation
Delete own reservation


Delete other’s reservation (request should be denied)


DELETE: Delete a menu item (request should be denied)


Summary
We have successfully migrated a local Django project to a Kubernetes cluster and confirmed its functionality within this environment. This project has been a valuable learning experience, enhancing my skills in both back-end development and DevOps practices, while also being an enjoyable journey.
Kubernetes was the highlight of this project. Its smooth and efficient handling of our complex application reaffirmed its crucial role in our infrastructure. Although I was already familiar with Kubernetes, this project allowed me to leverage its features more extensively, particularly in orchestrating our Django application with other services.
Reflecting on the development process, I’ve utilized multiple CI/CD tools such as GitHub Actions, ArgoCD, and Keel. These tools significantly saved time and improved the application. However, there are areas for improvement in the CI/CD pipeline. I might need to restructure it using a Jenkins pipeline. Additionally, I’m considering expanding the application’s functionality with new features like a delivery order system. Who knows, I might even open my own restaurant one day.
Overall, this project largely mimics the development stage of a real-world development cycle. The next step is to design a production environment, which will be set in an EKS cluster.
Next Step and Future considerations:
- Migrate to AWS EKS
- Implementing proper networking and security measures
- Set up Ingress for external traffic routing.
- Utilize AWS RDS for better database management
- Leverage AWS CodePipeline for CI/CD
- Optimize resource allocation and limits
- Set up a domain to serve the website publicly
- Delivery Order API Feature
- Implement user order cart functionality
- Add order status viewing for users
- Create admin/manager order modification capabilities
- Develop a system for assigning orders to delivery crew
- Allow delivery crew to view and confirm assigned orders
Reference
Deploying Django Apps in Kubernetes | The PyCharm Blog (jetbrains.com)